Groups
Adding Customers to Groups allows you to provide group discounts, group e-mails, and more. A customer can be added to one group. A default group can also be defined. You can add as many groups as you need. Loyalty can also be enabled, or disabled depending on the group preference. A group might consist of Wholesalers, Regular Customers, or others.
Groups
Groups must be created in the Back Office. Customers can be assigned a group during creation, in both the Back Office and Terminal. Groups can be renamed, deleted, and created in the Back Office. If you offer a loyalty program, you can disable the loyalty offerings for each group.
- Navigate to the eQuate Back Office
- On the left navigation bar, click "Accounts", then click "Groups".
- On the top button menu select "Create Group" (see Figure A).
- Add the details of the group and click "Save Changes" when you are complete (see Figure B).
- Navigate to the eQuate Back Office
- On the left navigation bar, click "Accounts", then click "Groups".
- Find the group row you want to edit, and click "Action", then "Edit".
- Edit the group details and click "Save Changes" when you are complete (see Figure B).

Figure A
Adding a new Group in the Back Office area.
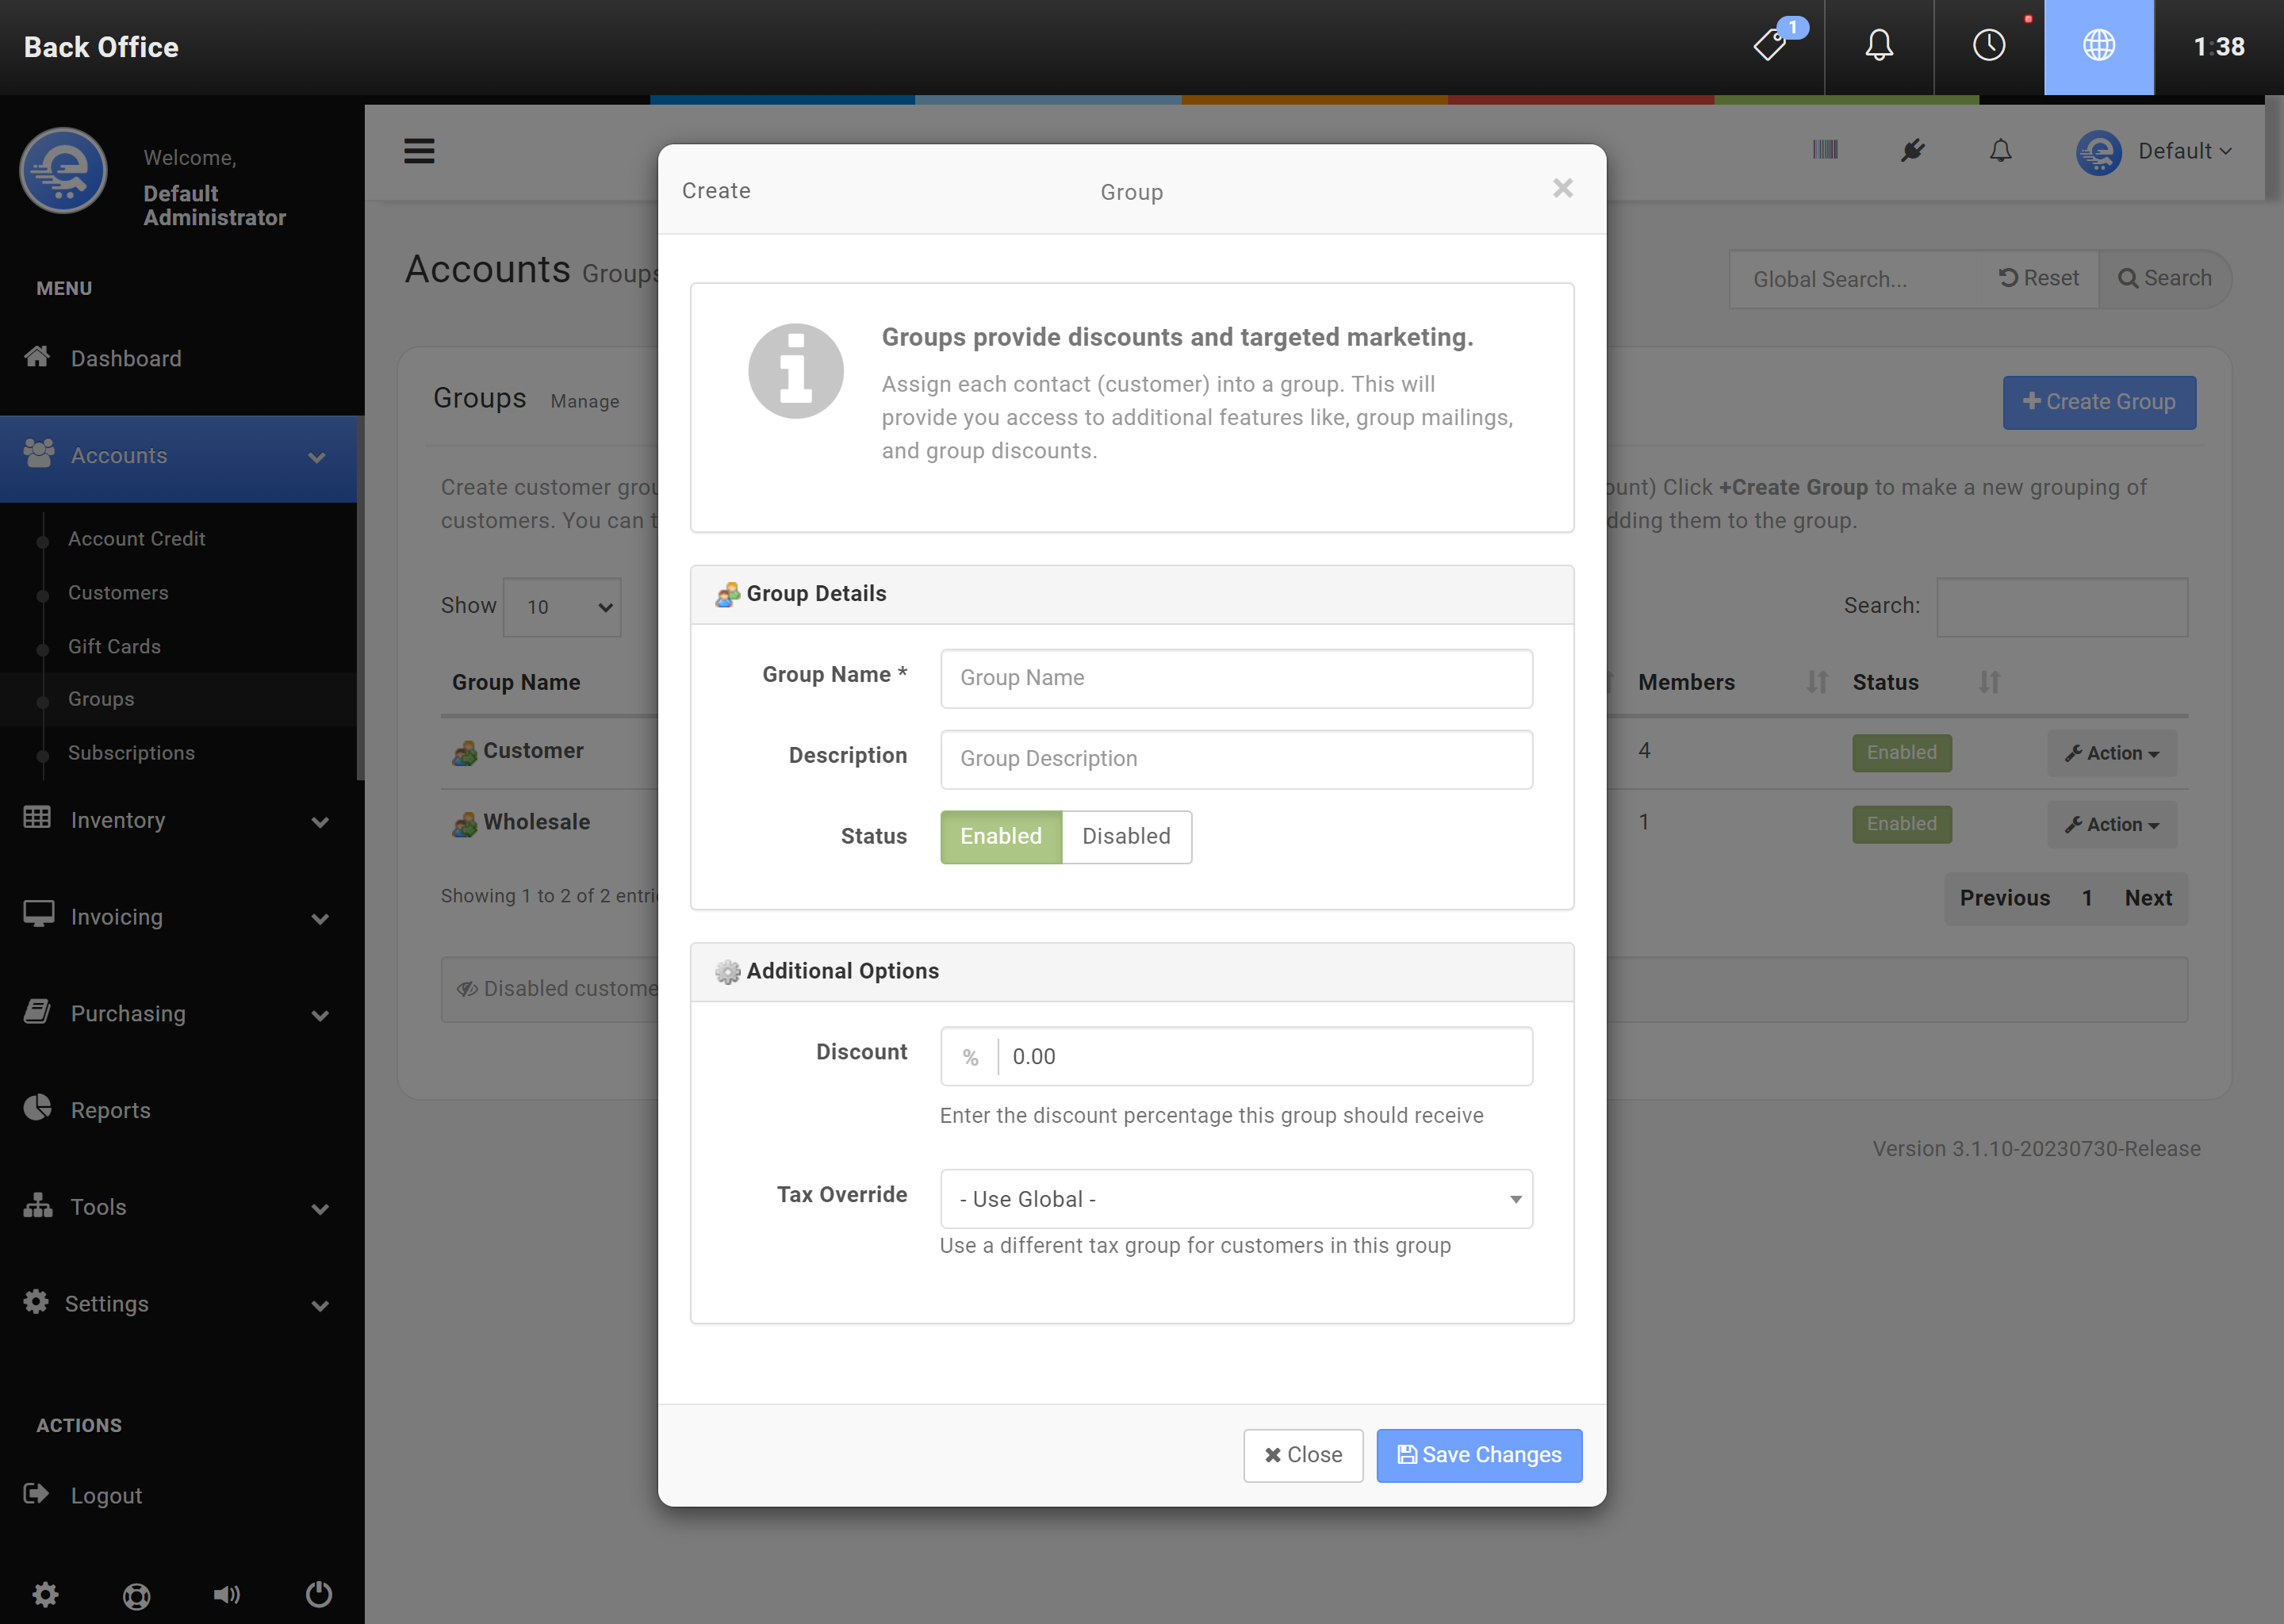
Figure B
After creating/modifying the Group, click "Save Changes".
Group Discounts
Group Discounts take precedence over all other discounts. If a Customer is added to a Sale that is apart of a Group Discount, no individual discounts will be added; only the group discount will apply.
- Navigate to the eQuate Back Office
- On the left navigation bar, click "Accounts", then click "Groups".
- Find the group row you want to edit, and click "Action", then "Edit" (see Figure C).
- Edit the discount value (percentage) and click "Save Changes" when you are complete (see Figure D).
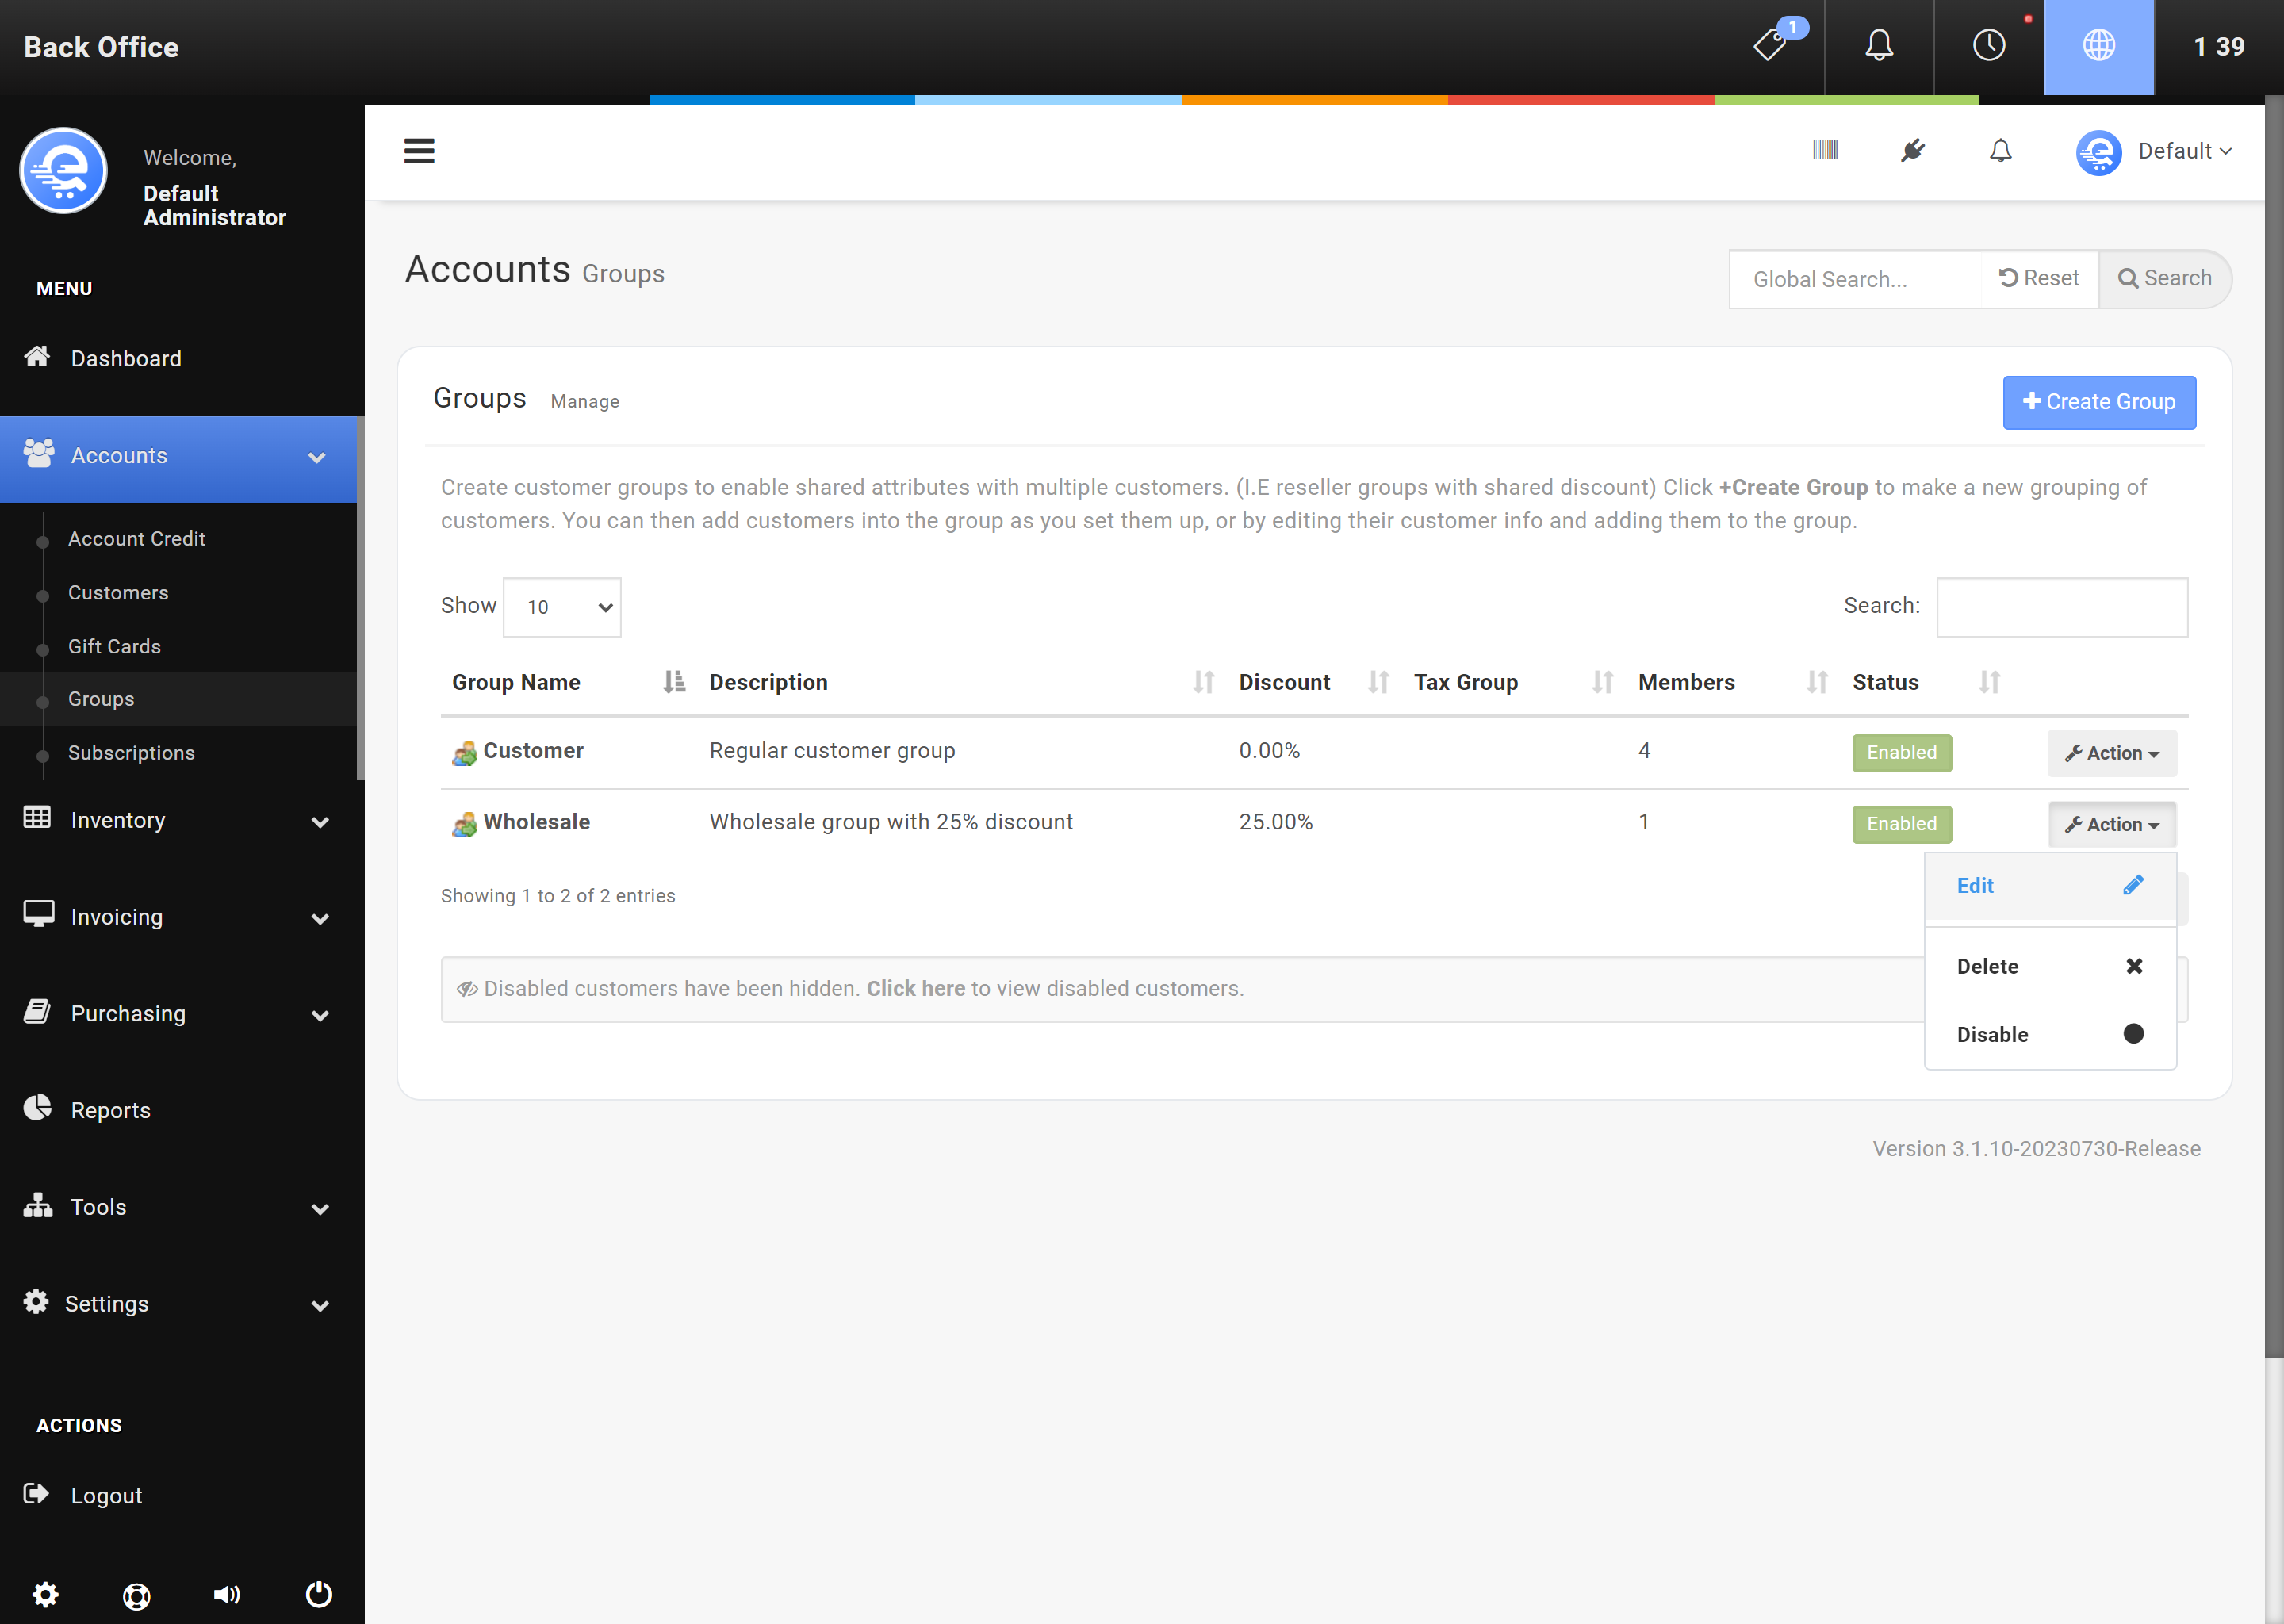
Figure C
Edit an existing Group in the Back Office area.

Figure D
After modifying the Discount percentage, click "Save Changes".