Attributes & Values
By defining Attributes & Values during the product creation progress, you allow for more in-depth reporting on Product Sales. It also organizes your stock by rolling up similar products into one product. For example, if you sell Shoes, you may want to seperate them into Sizes and Colours. A product can have multiple attributes assigned to them.
Attributes
Attributes are the top level of a combination. Each Attribute contains Values. For an example, and Attribute may be called "Size", or "Colour". You would then create Values under each respective Attribute. A value would be Size 10, Size 9, or Blue or Red. You can create Attributes in the Back Office area. Once you create an Attribute, be sure to create Values under each Attribute.
- Navigate to the Back Office area
- On the left menu, click on "Inventory", then click on "Attributes & Values" (see Figure A).
- On the top tab menu, select "Attributes".
- Click on "Create Attribute"
- Name the New Attribute (like Colour, or Size).
- Click "Save Changes" (see Figure B).
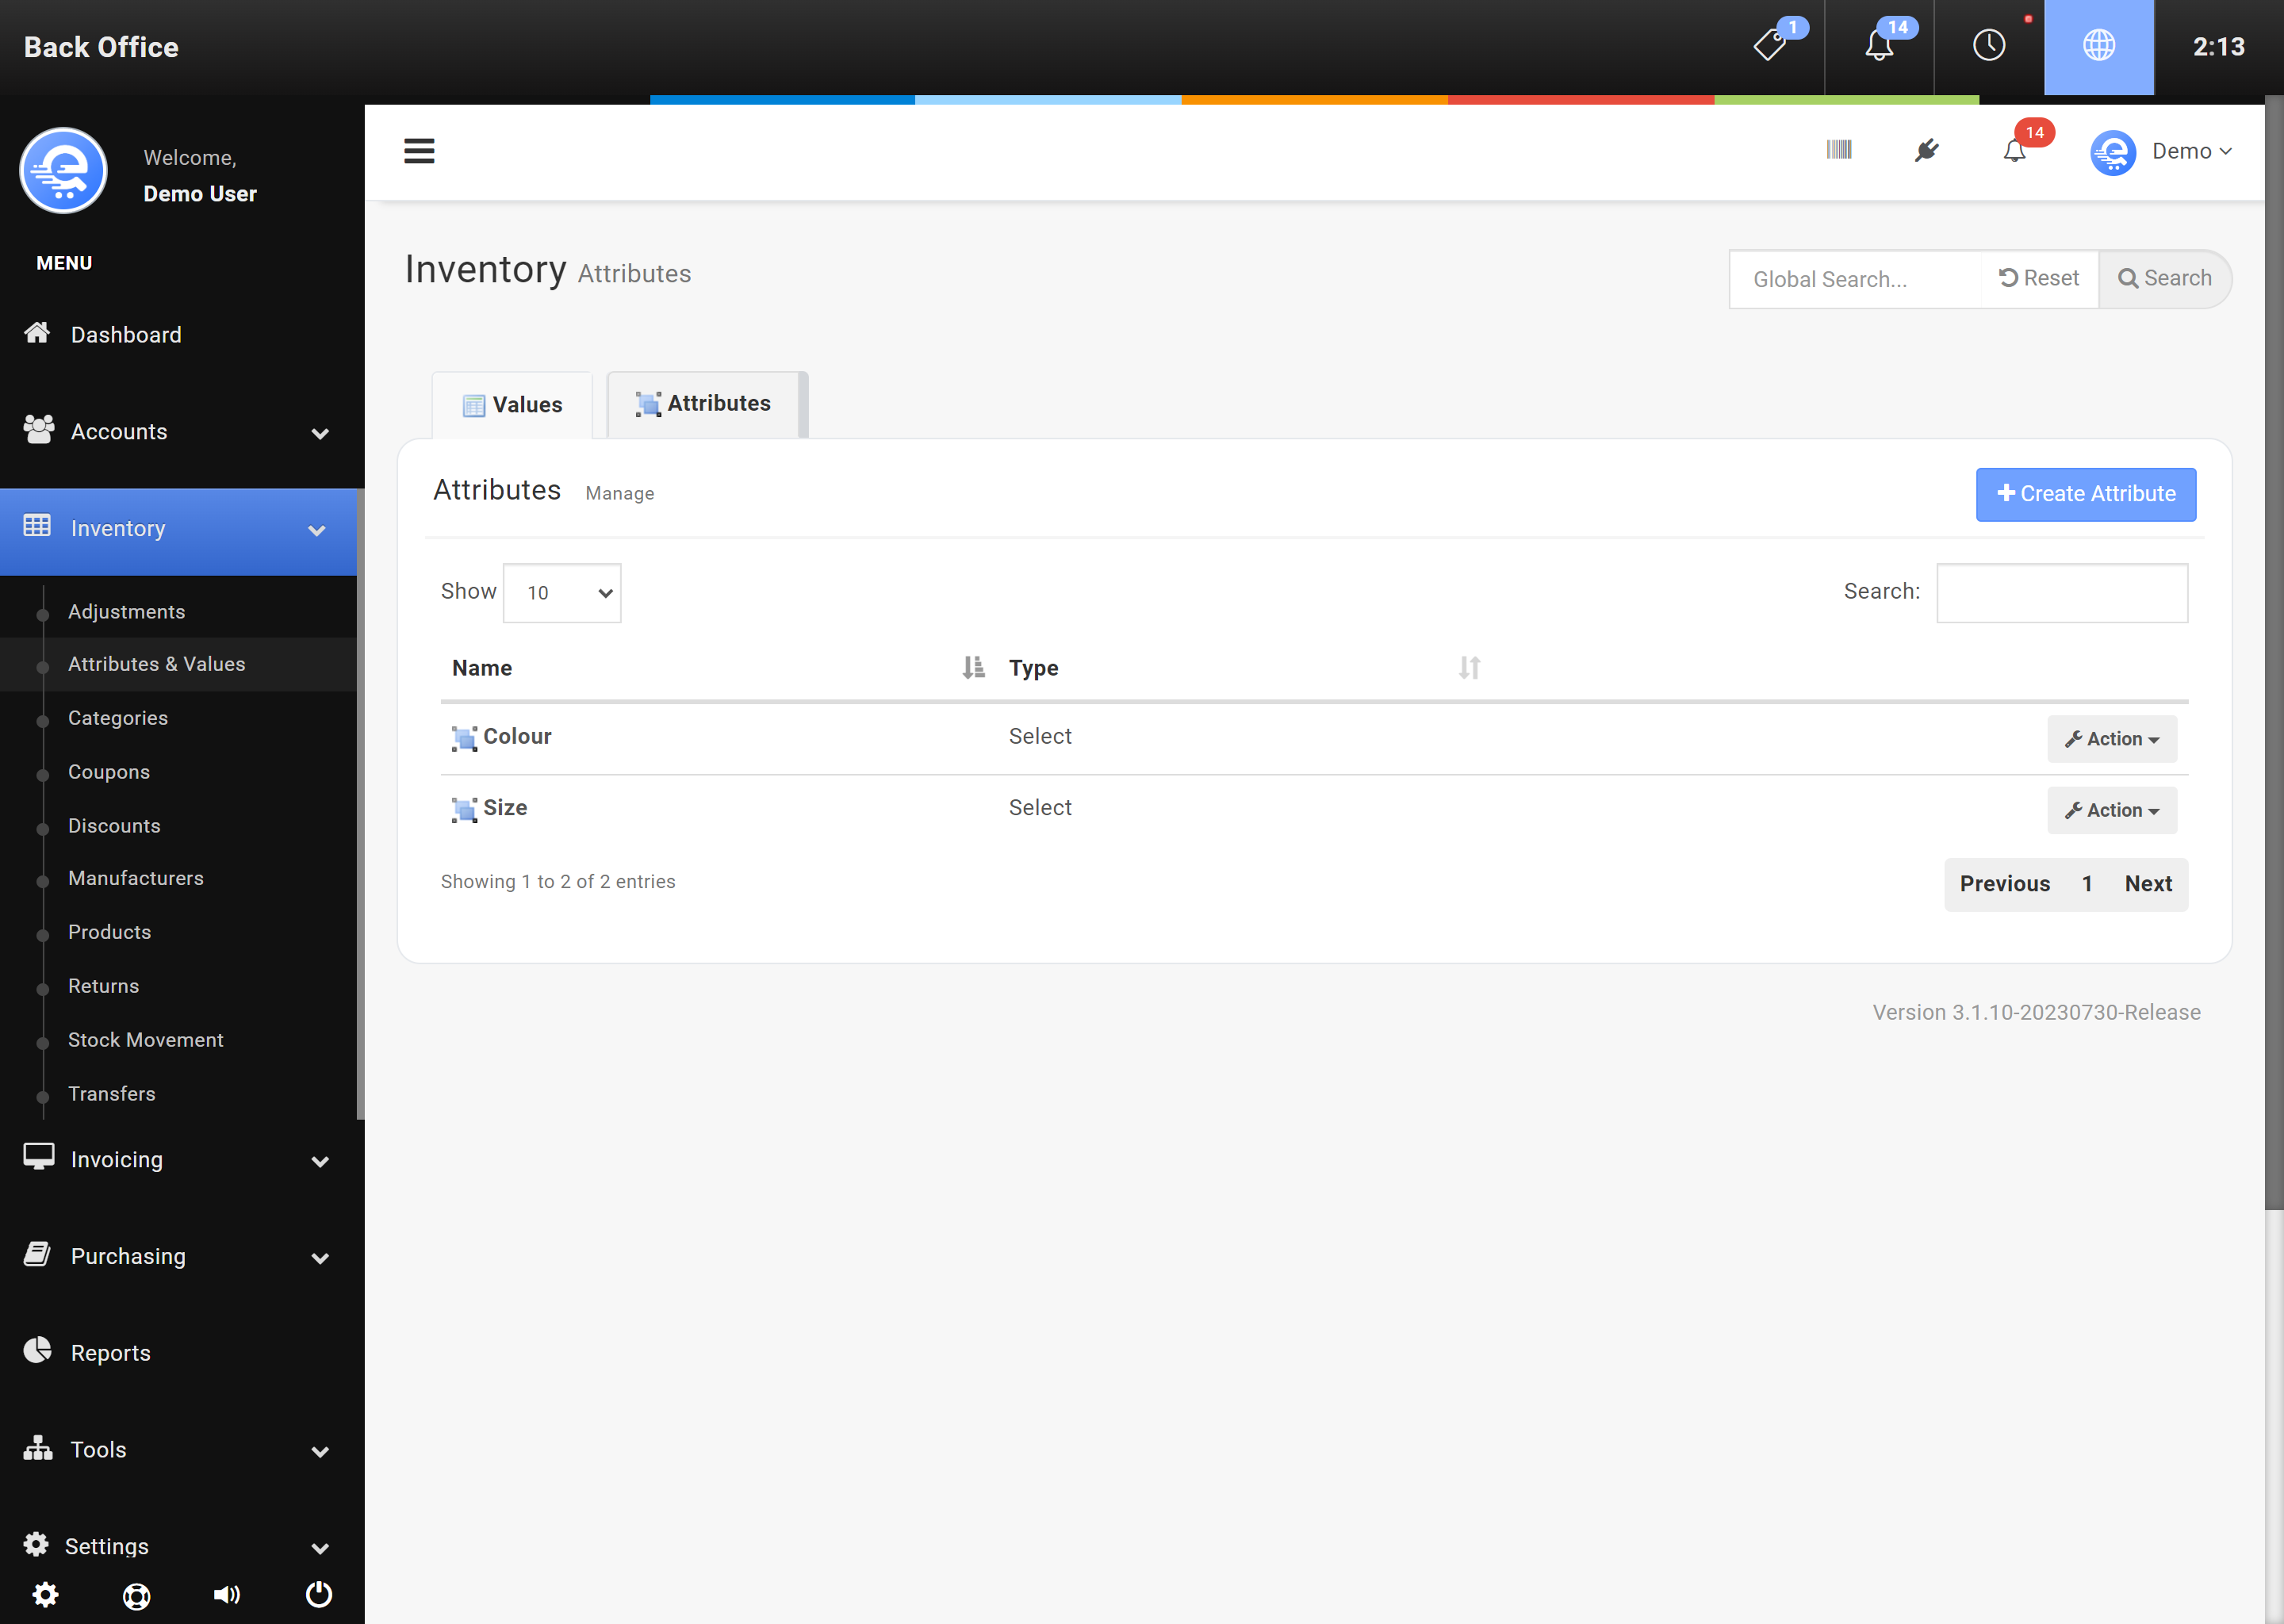
Figure A
Create a new Attribute in the Back Office area.
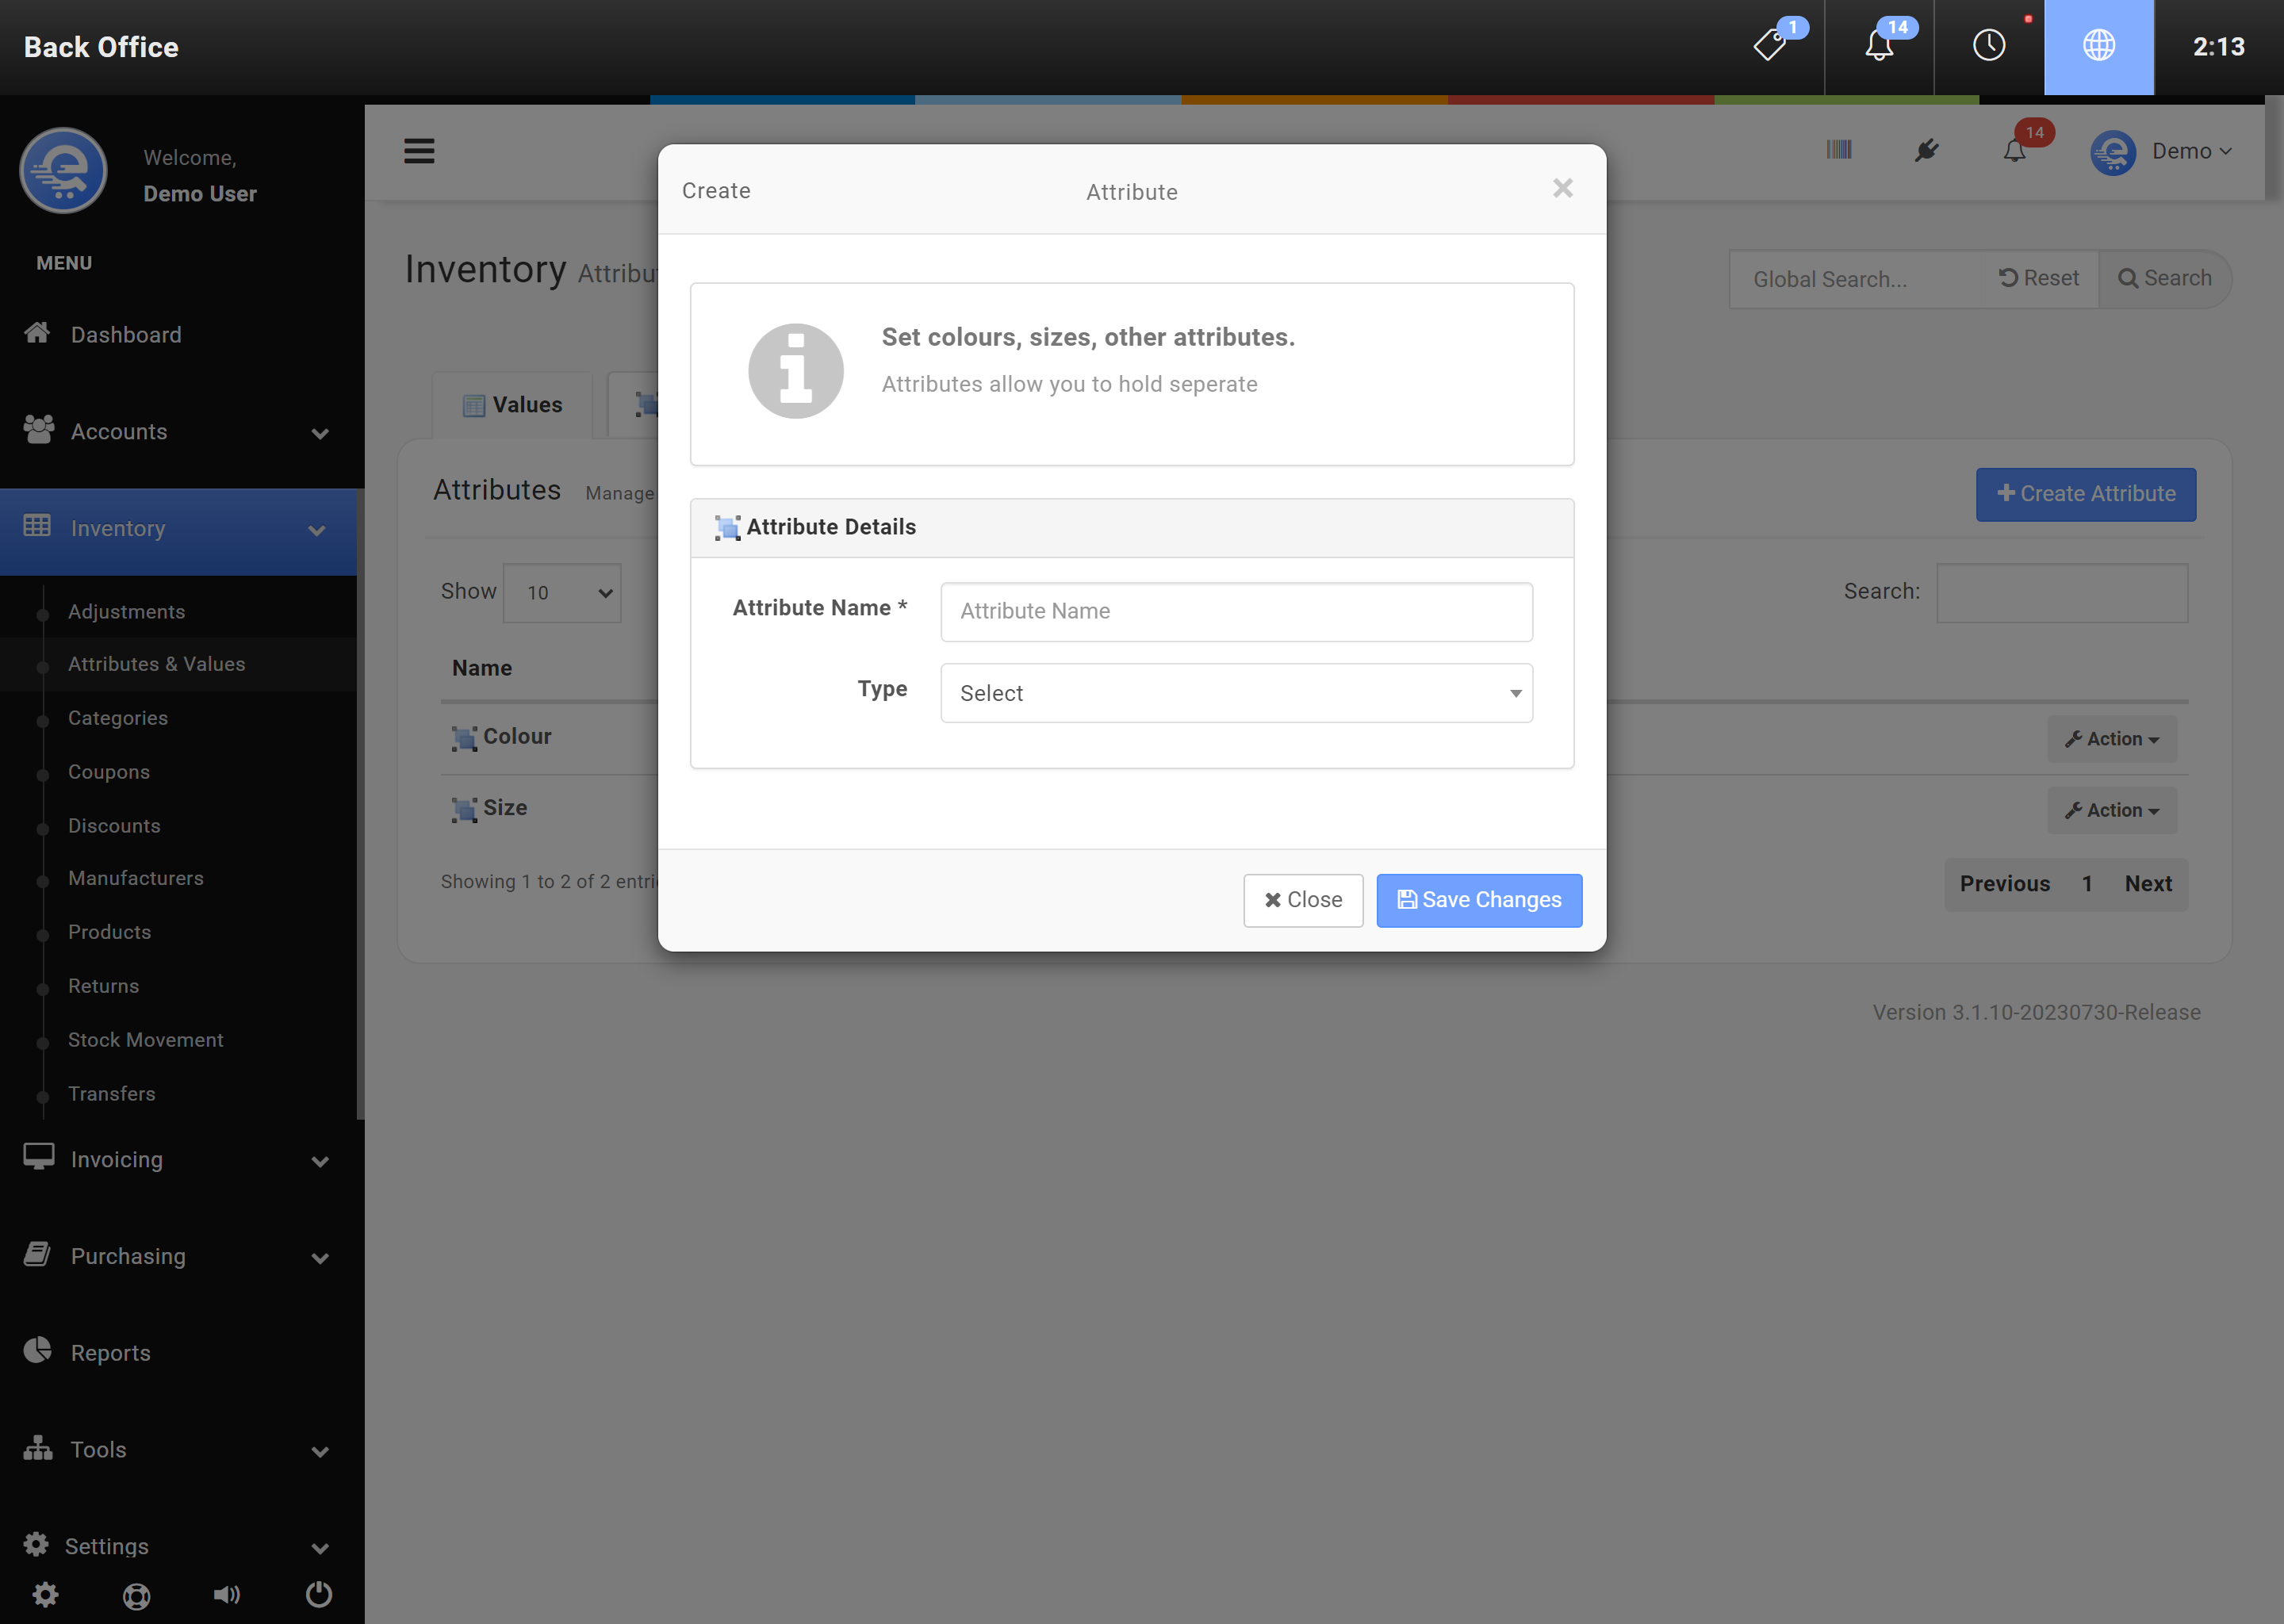
Figure B
Fill out the Attribute details, and click "Save Changes" when complete.
Values
Values are the second part of Attributes. A value lies below an Attribute. Values consist of related information, like sizes, or colours. For example, a Attribute called "Colour", may have multiple Values assosciated with it; like Blue, Red, or Green. When you are creating new Products, you can associate each new product with an Value if required. Values can only be added in the Back Office area.
- Navigate to the Back Office area
- On the left menu, click on "Inventory", then click on "Attributes & Values" (see Figure C).
- Click on the button labelled "New Value".
- Name the New Value (like Blue, or Green) and assign it to an Attribute that has already been created (like Colour).
- Click "Save Changes" (see Figure D) when complete.
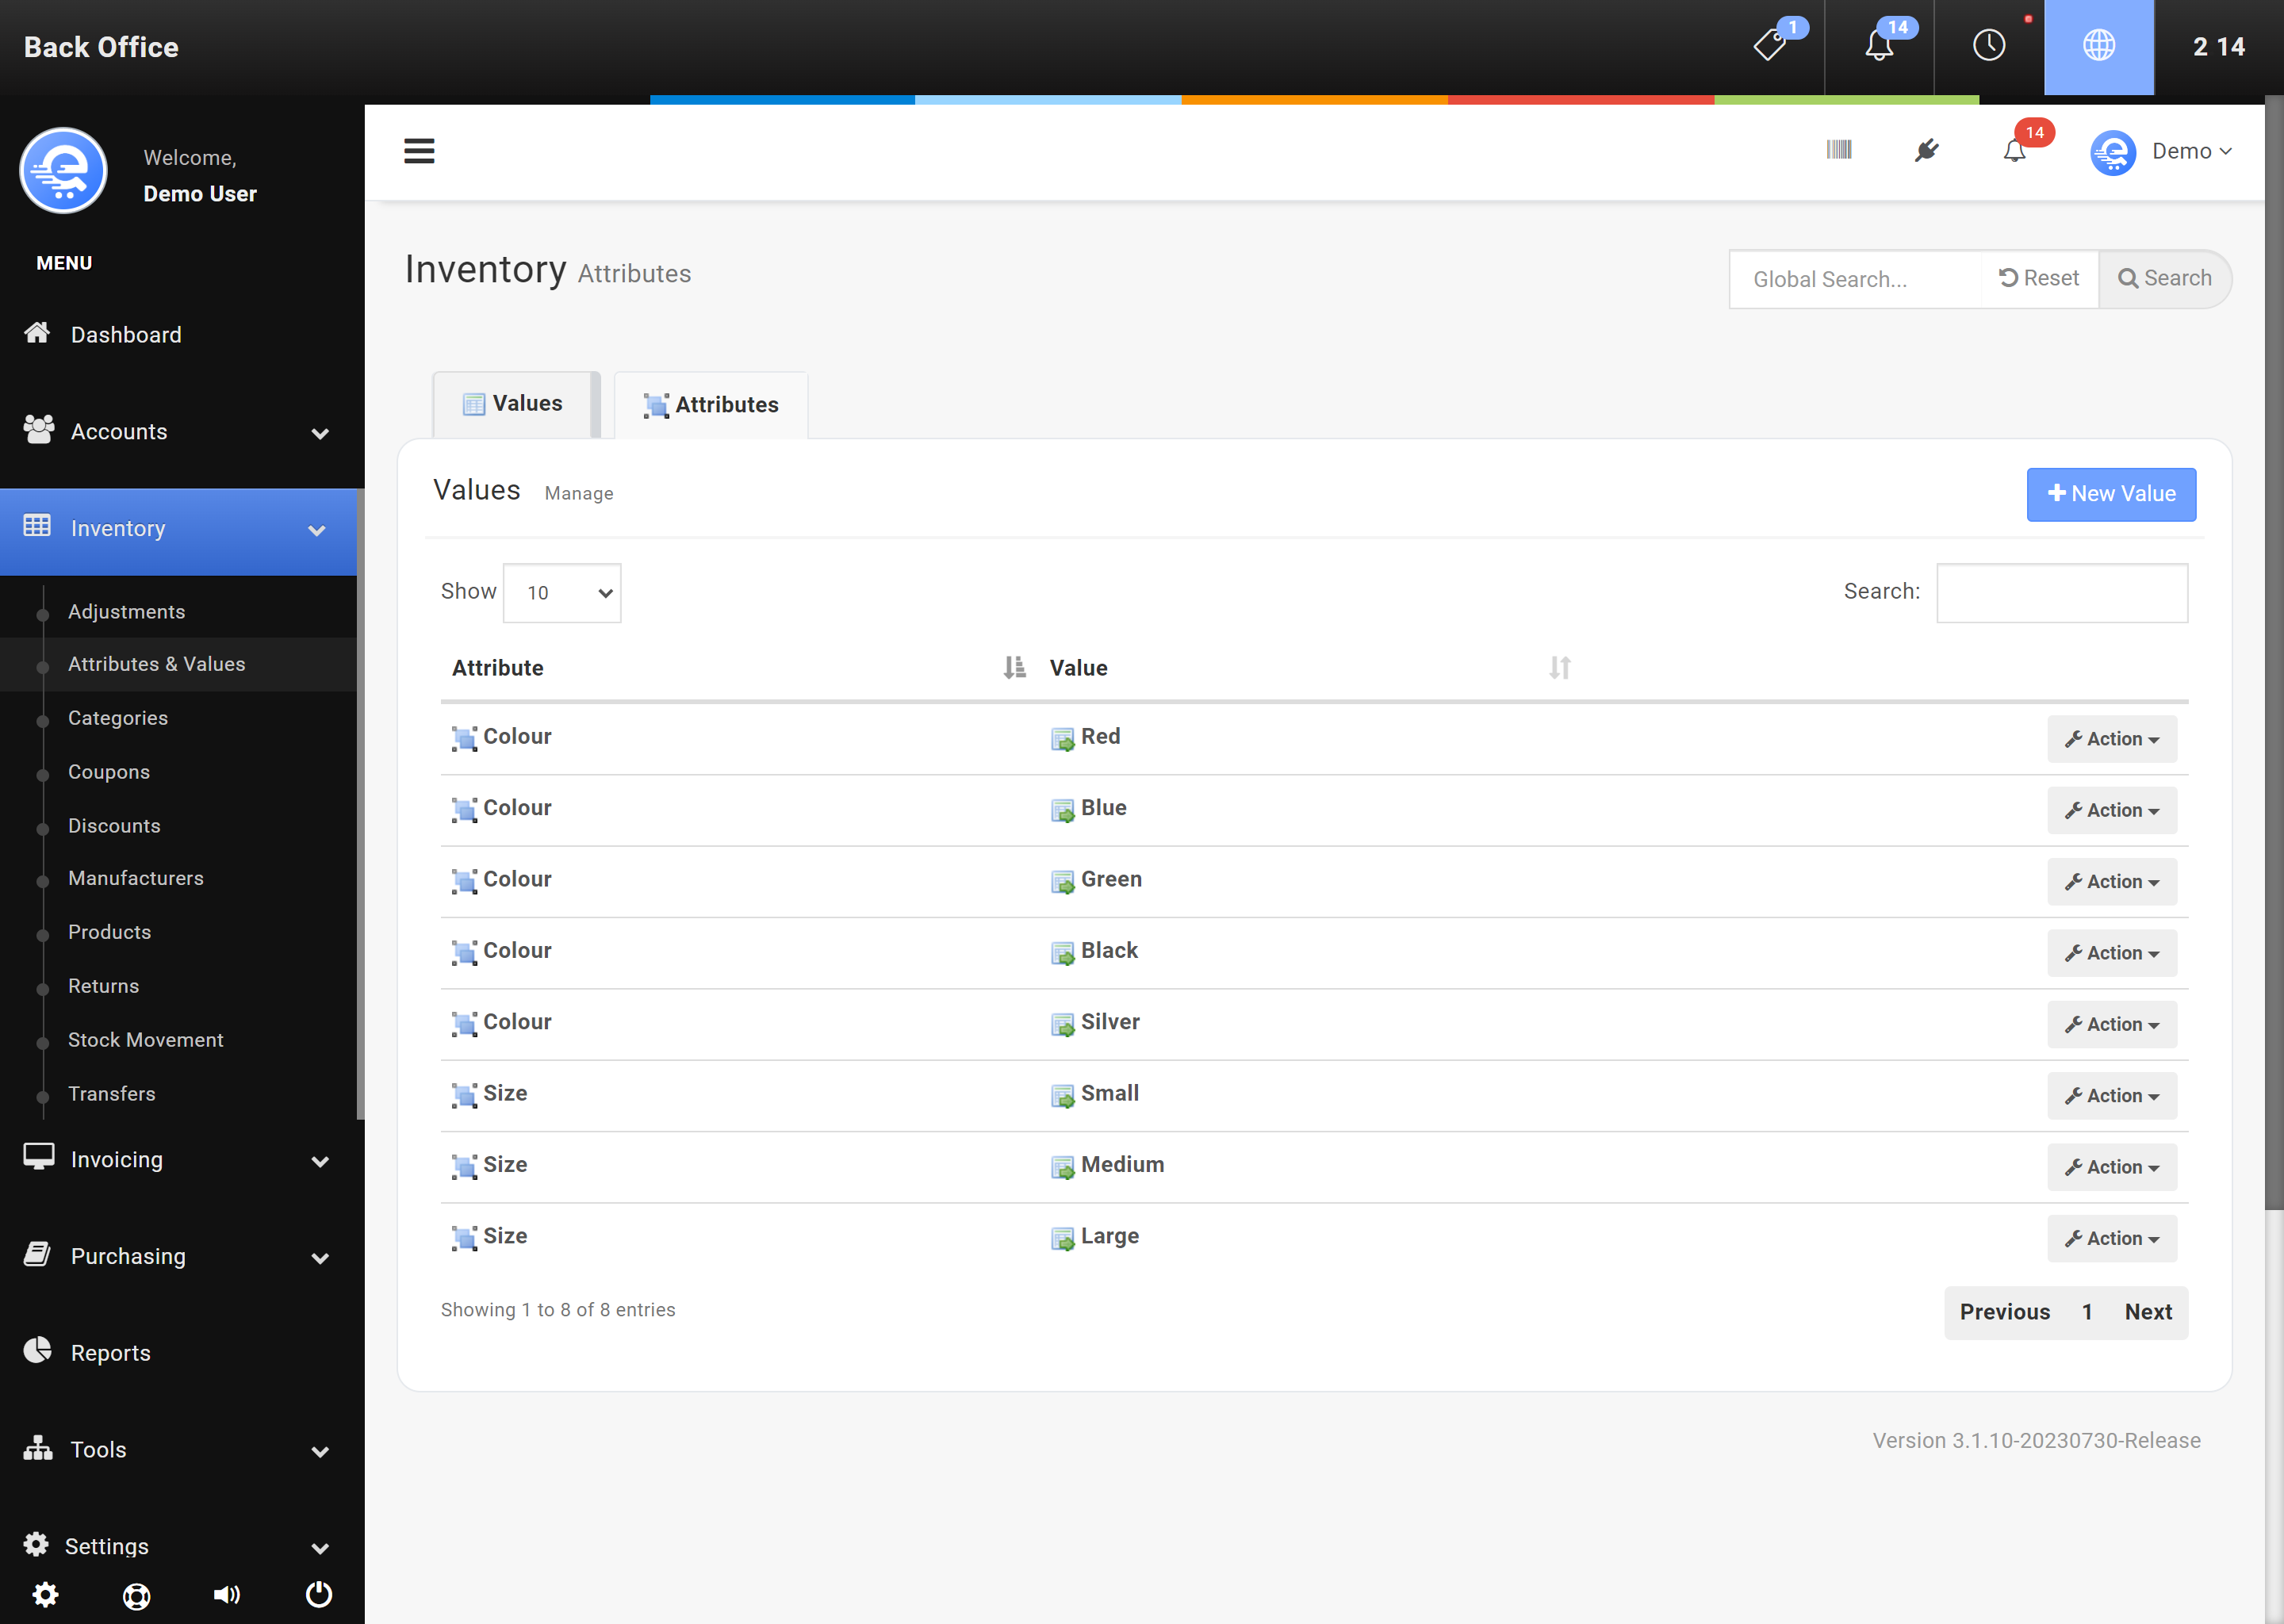
Figure C
Create Attribute Values in the Back Office area.

Figure D
Fill out the details of the new Value and click "Save Changes" when complete.