Tickets & Workgroups
Tickets can be created to allow you to track and address various business issues. You can open, close and hold tickets. Tickets can also be given a severity, such as Low, or High; depending on your requirement for that specific ticket.
- Navigate to the eQuate Back Office
- On the left navigation bar, click "Tools", then click "Tickets".
- On the top button menu select "Create Ticket" (see Figure A).
- Add the details of the ticket and click "Save Changes" when you are complete (see Figure B).
- Navigate to the eQuate Back Office
- On the left navigation bar, click "Tools", then click "Tickets".
- Select "Action" and "Edit" on the row of the ticket you want to edit.
- Click "Save Changes" (see Figure B) when you are done modifying the ticket.
Statuses
Tickets can be changed to various statuses. Statuses allow you to manage your workflow.
- Open
Open tickets are the default status when creating a new ticket. An open ticket indicates the ticket is not complete. - Held
A held status indicated the ticket has been acknowledged, but not yet resolved. - Closed
A closed ticket is the final status a ticket enters. It indicates that the ticket is complete and no further action is required.
- Navigate to the eQuate Back Office
- On the left navigation bar, click "Tools", then click "Tickets".
- Select "Action" and "Edit" on the row of the ticket you want to close.
- Click on the classification sub-menu, and change the Status of the ticket to Closed.
- Click "Save Changes" (see Figure B).
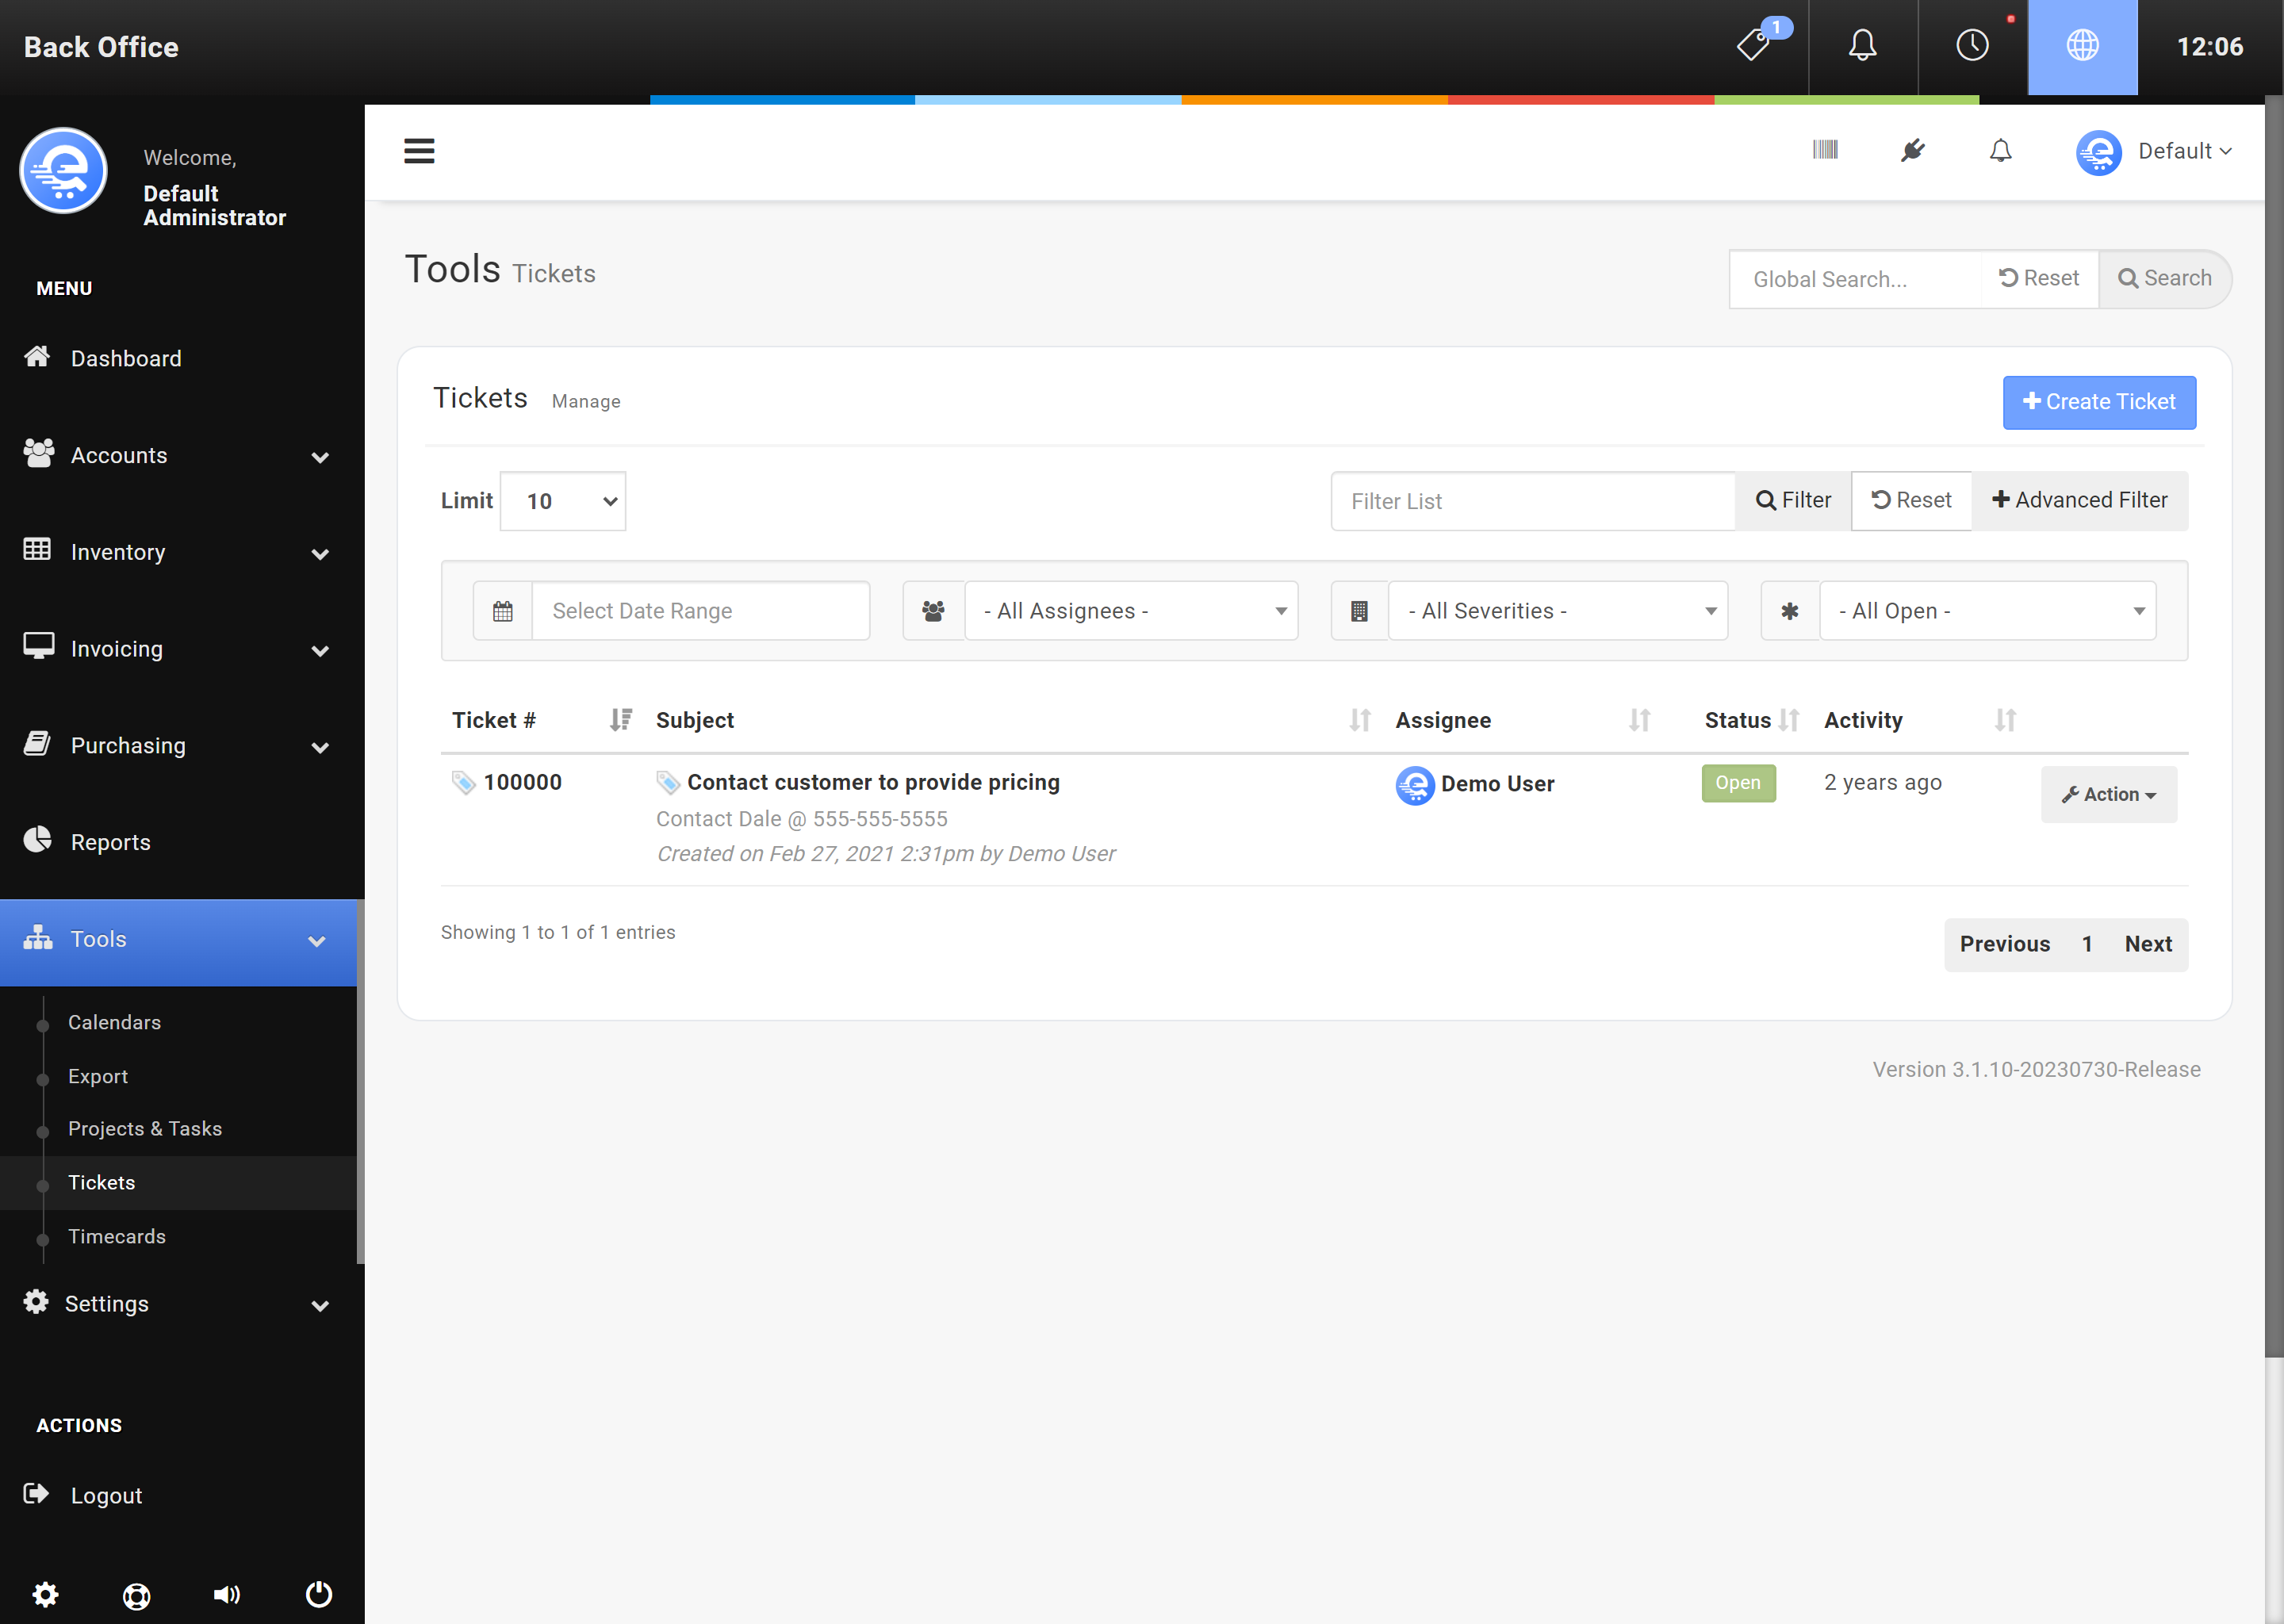
Figure A
Adding a new ticket in the Back Office area.
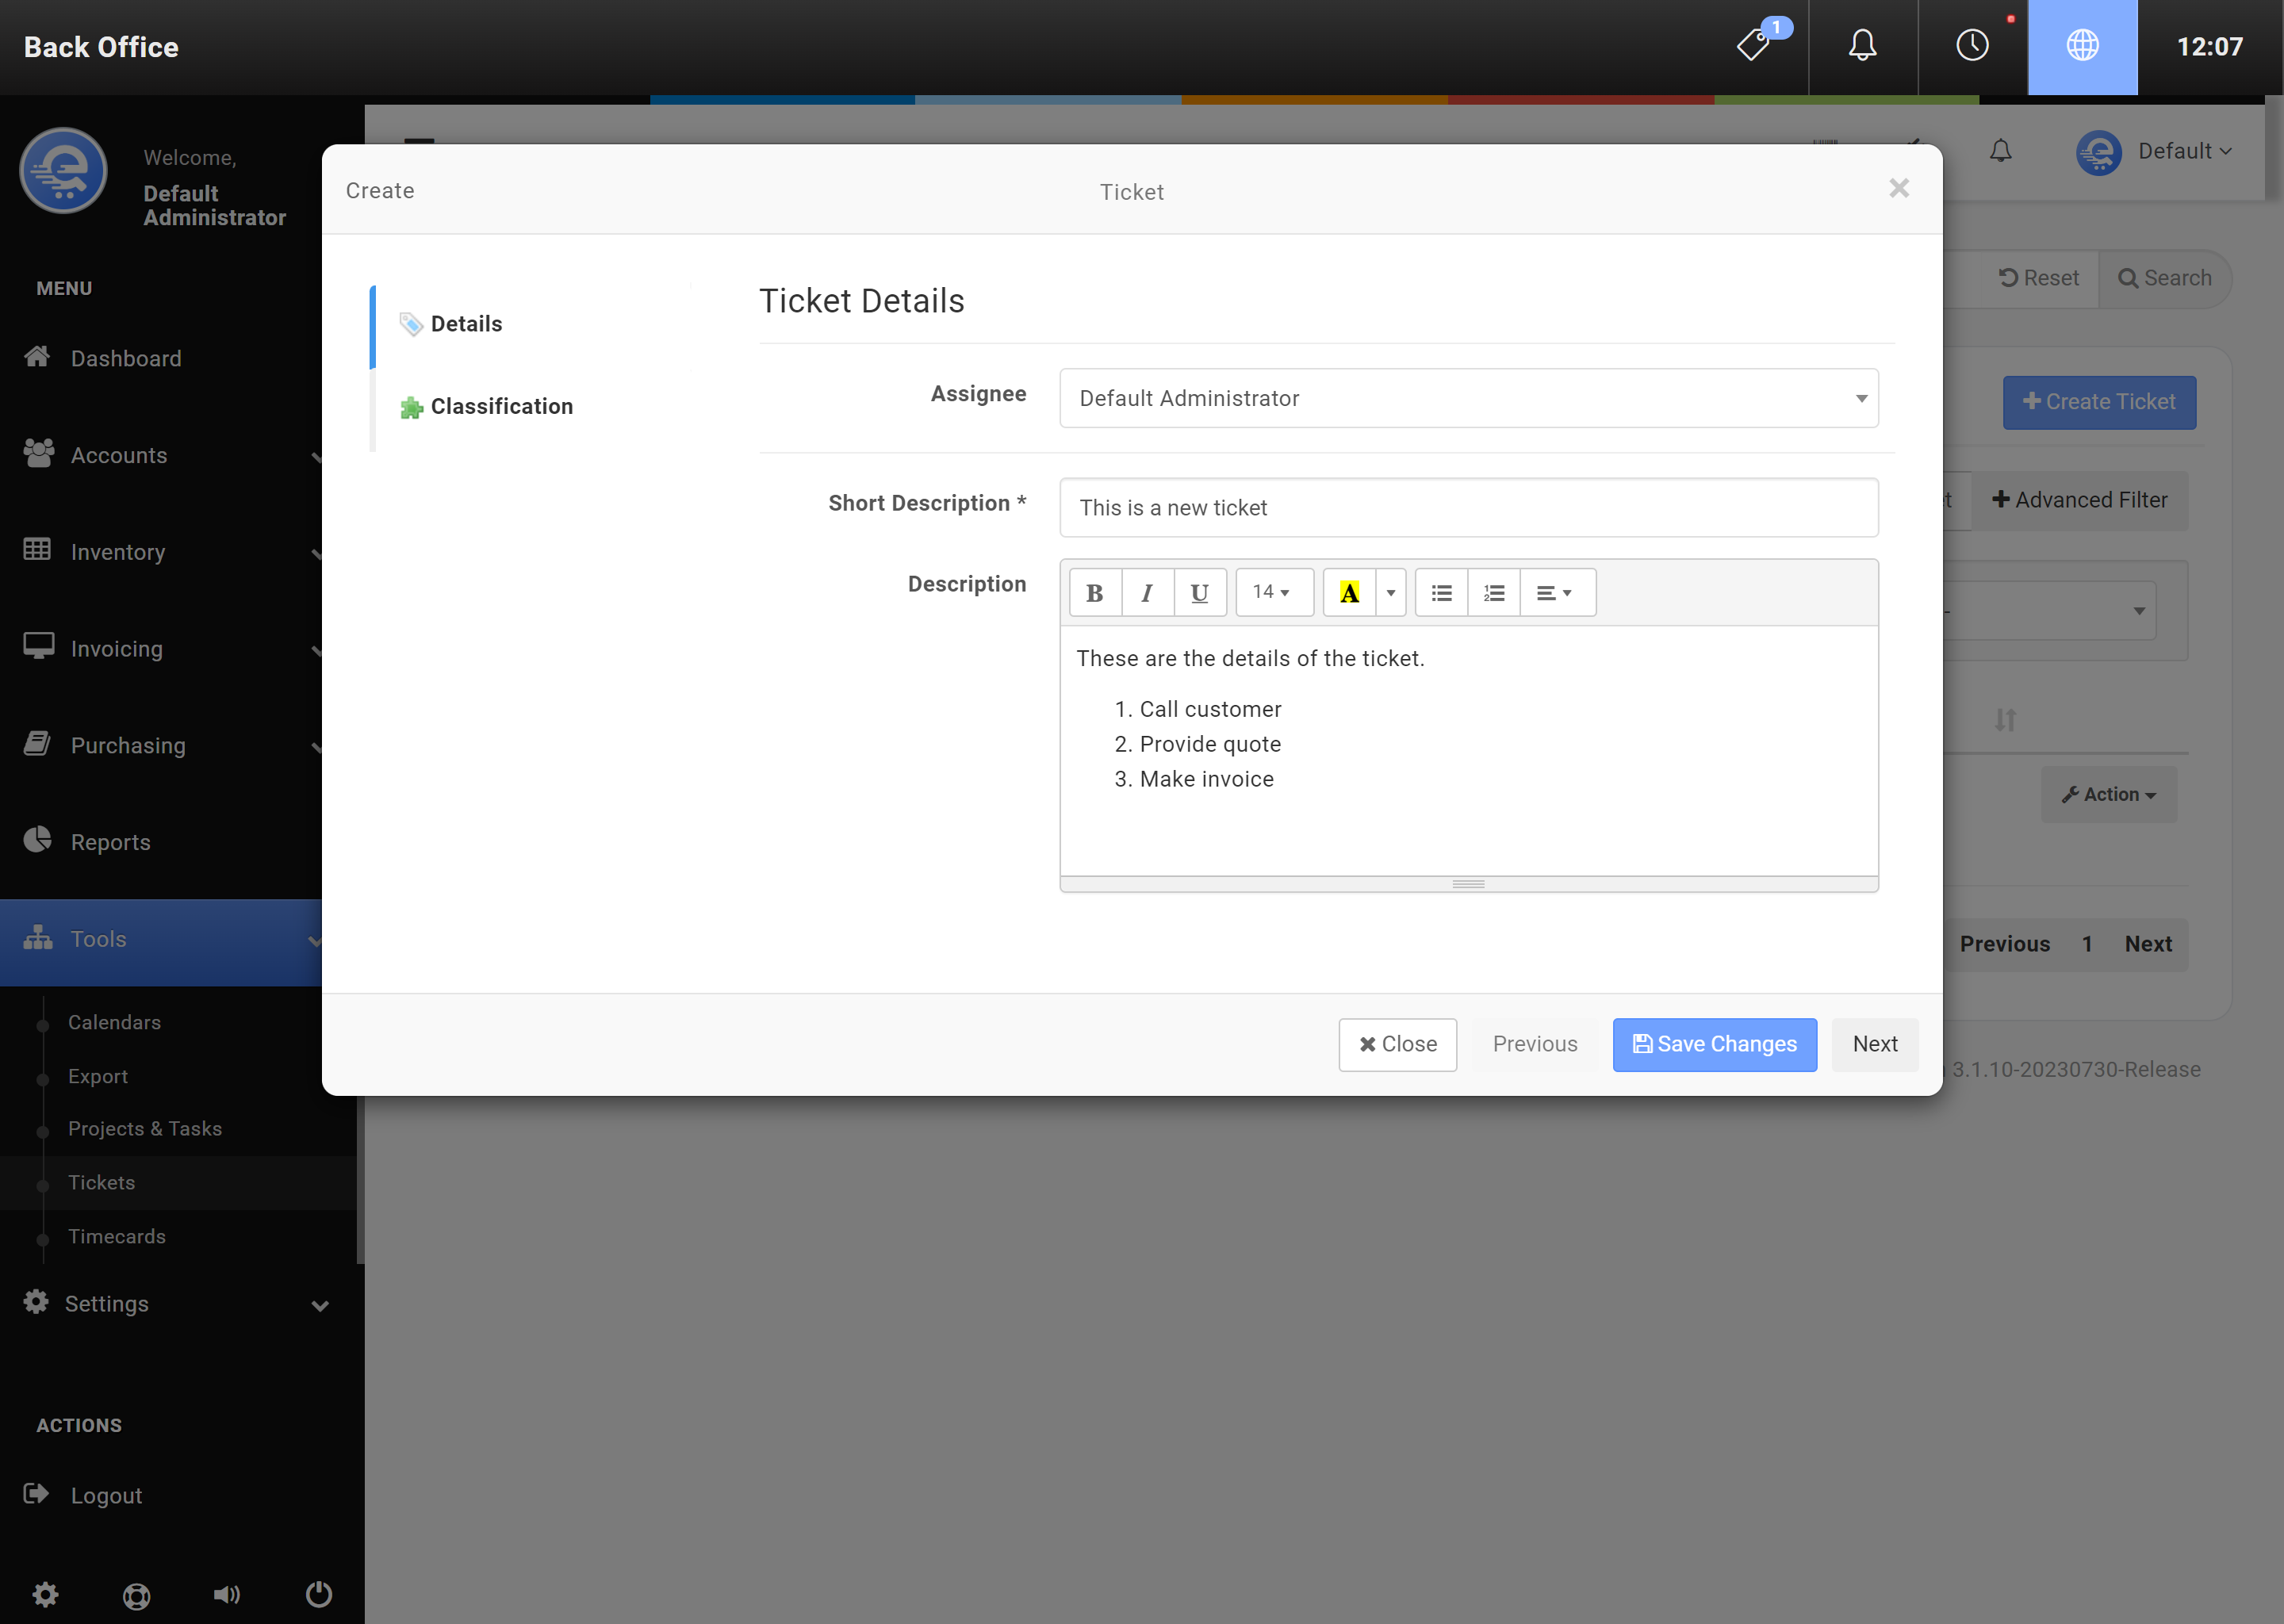
Figure B
After modifying the ticket, click "Save Changes".
Workgroups
Workgroups can provide you a way of working as a team. You can assign tickets to workgroups, and all of the users in the workgroup can work on the assigned ticket. Workgroups can also be a good way of collaborating with various tasks, such as Projects & Tasks. You can assign various users to workgroups.
- Navigate to the eQuate Back Office
- On the left navigation bar, click "Settings", select "System", then click "Workgroups".
- On the top button menu select "Create Workgroup" (see Figure C).
- Enter the information about the workgroup, and the employees you want to add to it.
- Click "Save Changes" (see Figure D).
- Navigate to the eQuate Back Office
- On the left navigation bar, click "Settings", select "System", then click "Workgroups".
- Find the Warehouse you would like to edit.
- Select "Action" and "Edit" on the row of the workgroup you want to edit.
- Click "Save Changes" (see Figure D).
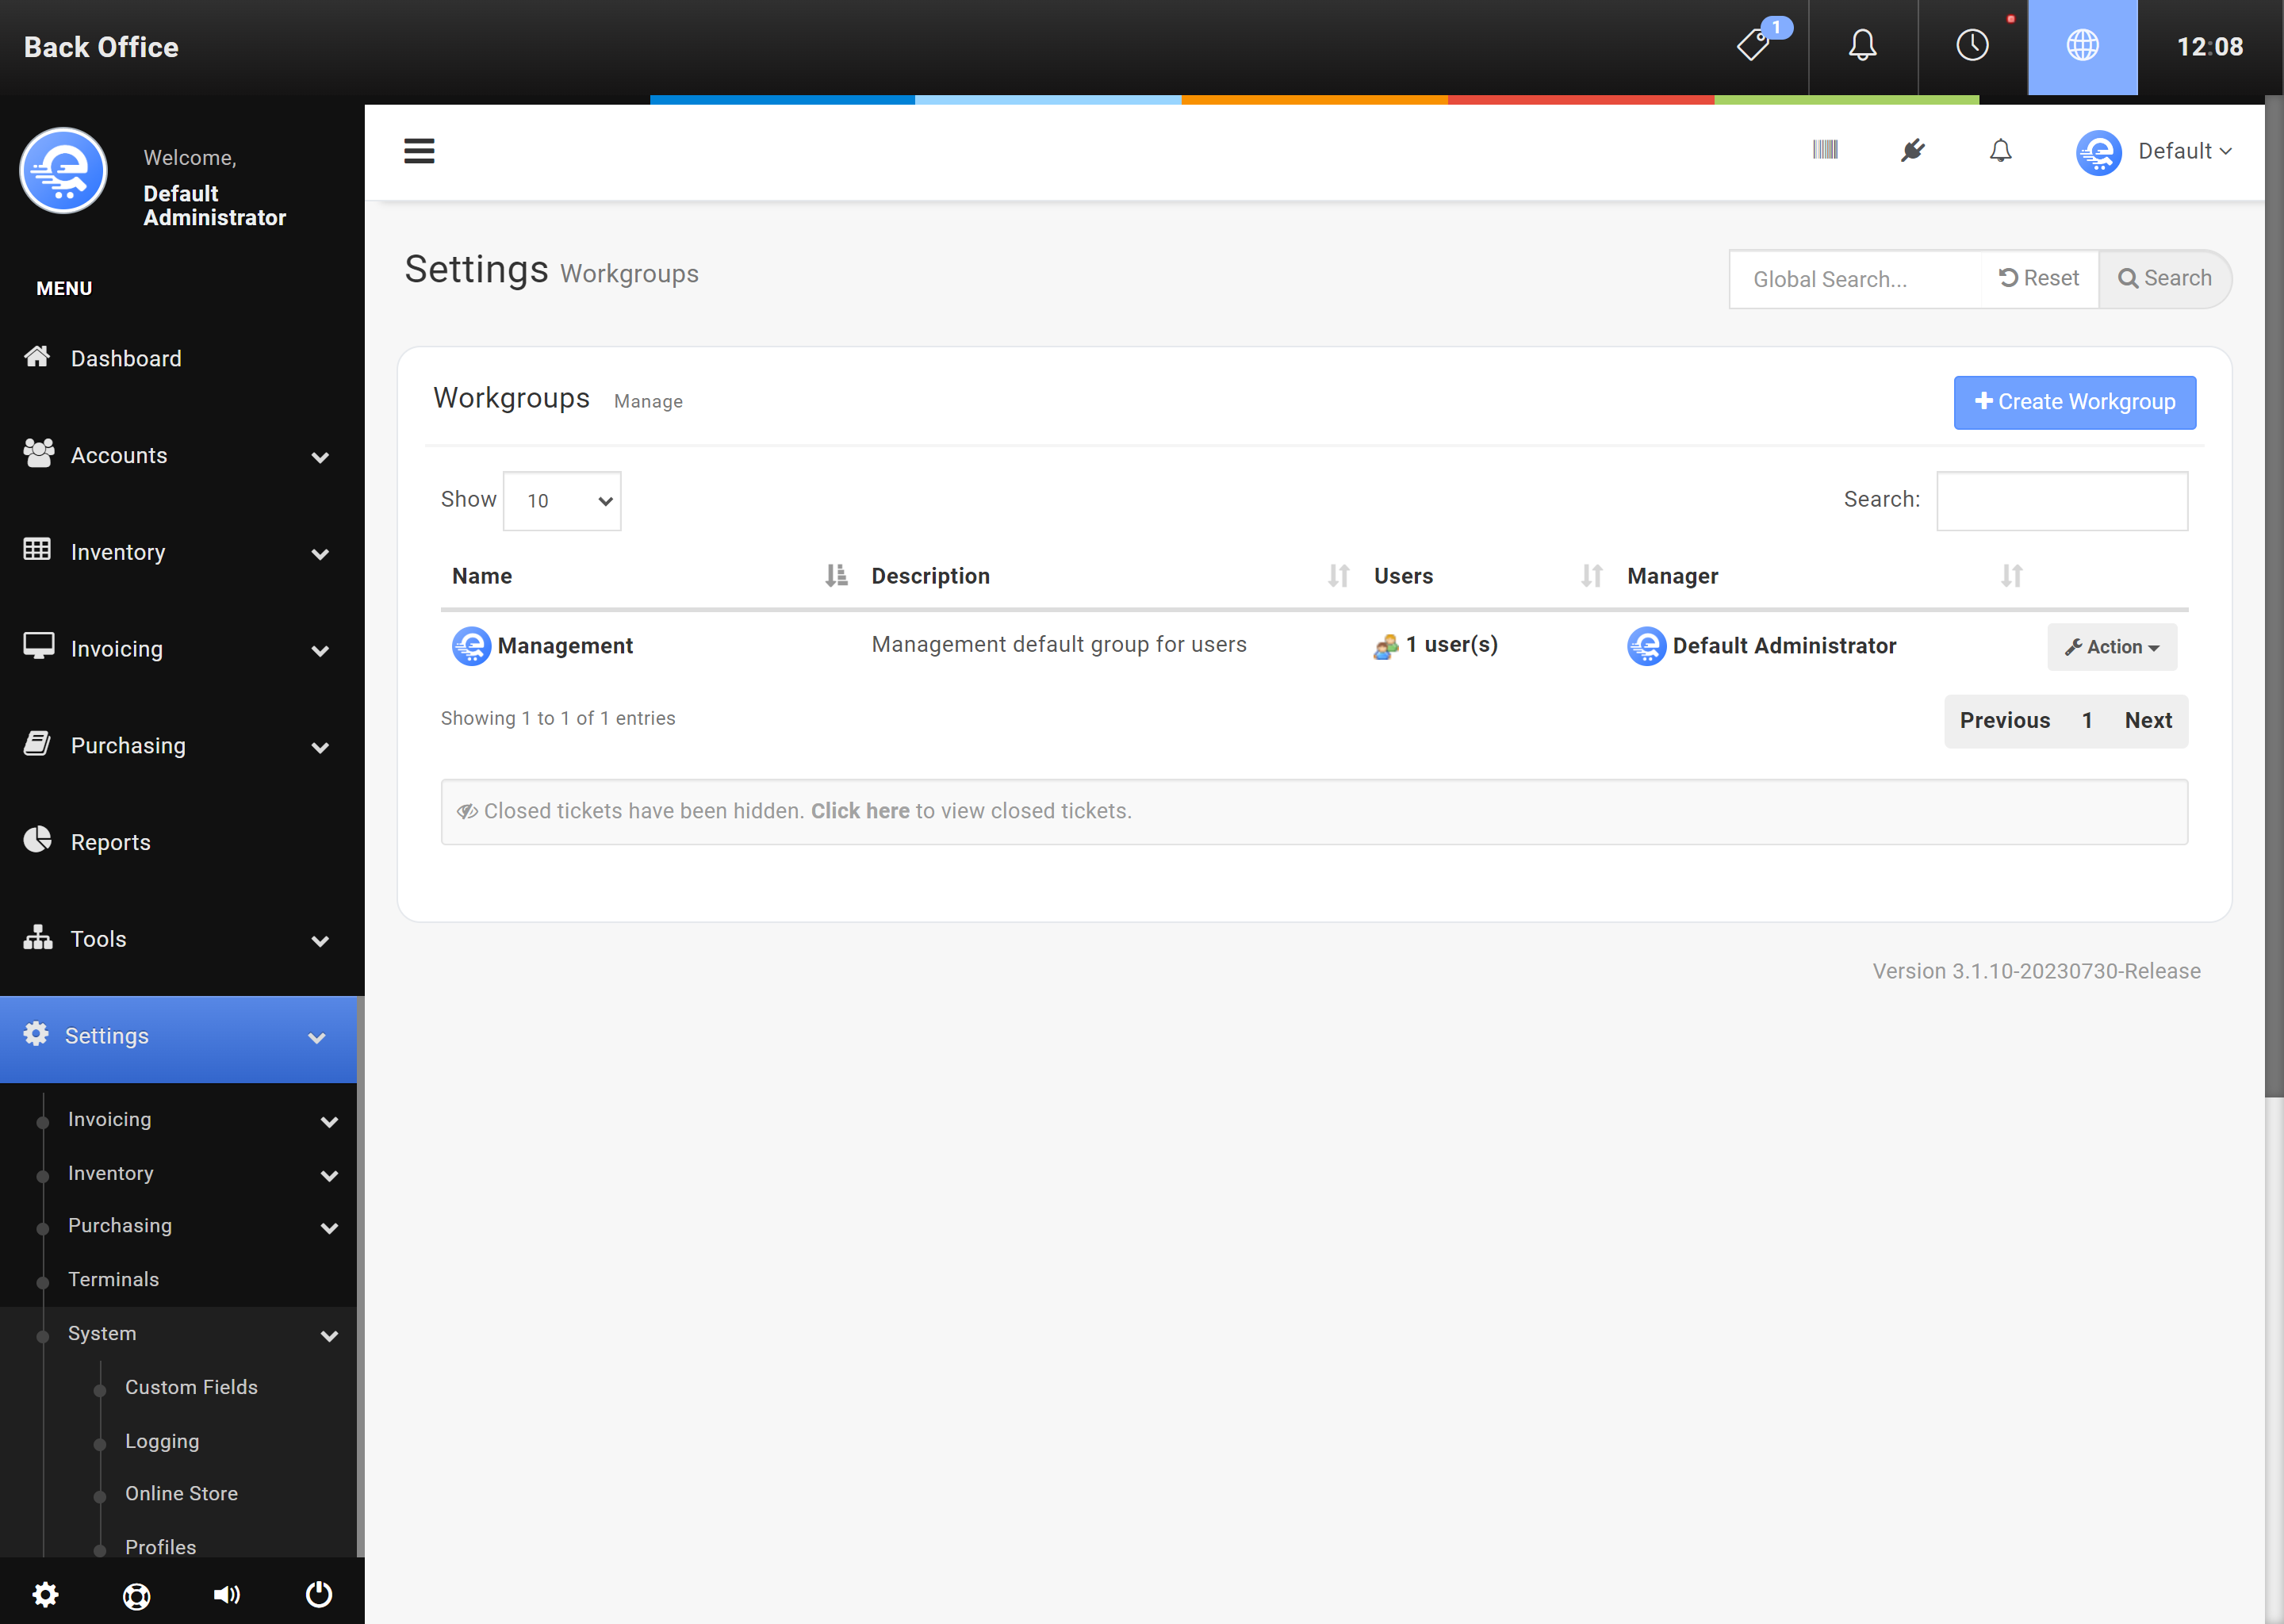
Figure C
Create a new workgroup in the Workgroup section of the Back Office.

Figure D
Click "Save Changes" when done adding or modifying the workgroup.