Transfers
If you have multiple warehouses, you can transfer inventory between them. You can create a Transfer, with multiple products added from one source, going to multiple (or a single) destination. Transfers are not included as an adjustment. Transfers can also be completed using the Quick Transfer tool. The Quick Transfer tool allows you to transfer single products between warehouses.
Transfers can take a few minutes to appear on other Terminals.
Transfers
A standard Transfer allows you to create a trackable list of multiple items being transferred. You can only transfer out from one source, but you can specify multiple destinations if you require.
- Navigate to the Back Office area
- On the left menu, click on "Inventory", then click on "Transfers & Adjustments" (see Figure A).
- Click on button labelled "New Transfer".
- Fill out the details of the transfer, including the Source where the product inventory should be deducted from.
- Specify the items you want to transfer in the Items tab, and set the destination for each item.
- Specify the status of the transfer:
- Pending = No inventory modified
- Sent = Inventory deducted from source warehouse
- When you are complete, click "Save Changes" (see Figure B).
- Navigate to the Back Office area
- On the left menu, click on "Inventory", then click on "Transfers" (see Figure A).
- Locate the Transfer you wish to receive in the table, then click "Action", then "View".
- Receive each item into the desired warehouse by clicking on the Receive button on the right column of the table.
- When a Transfer is completely received, the status will automatically change to "Received".
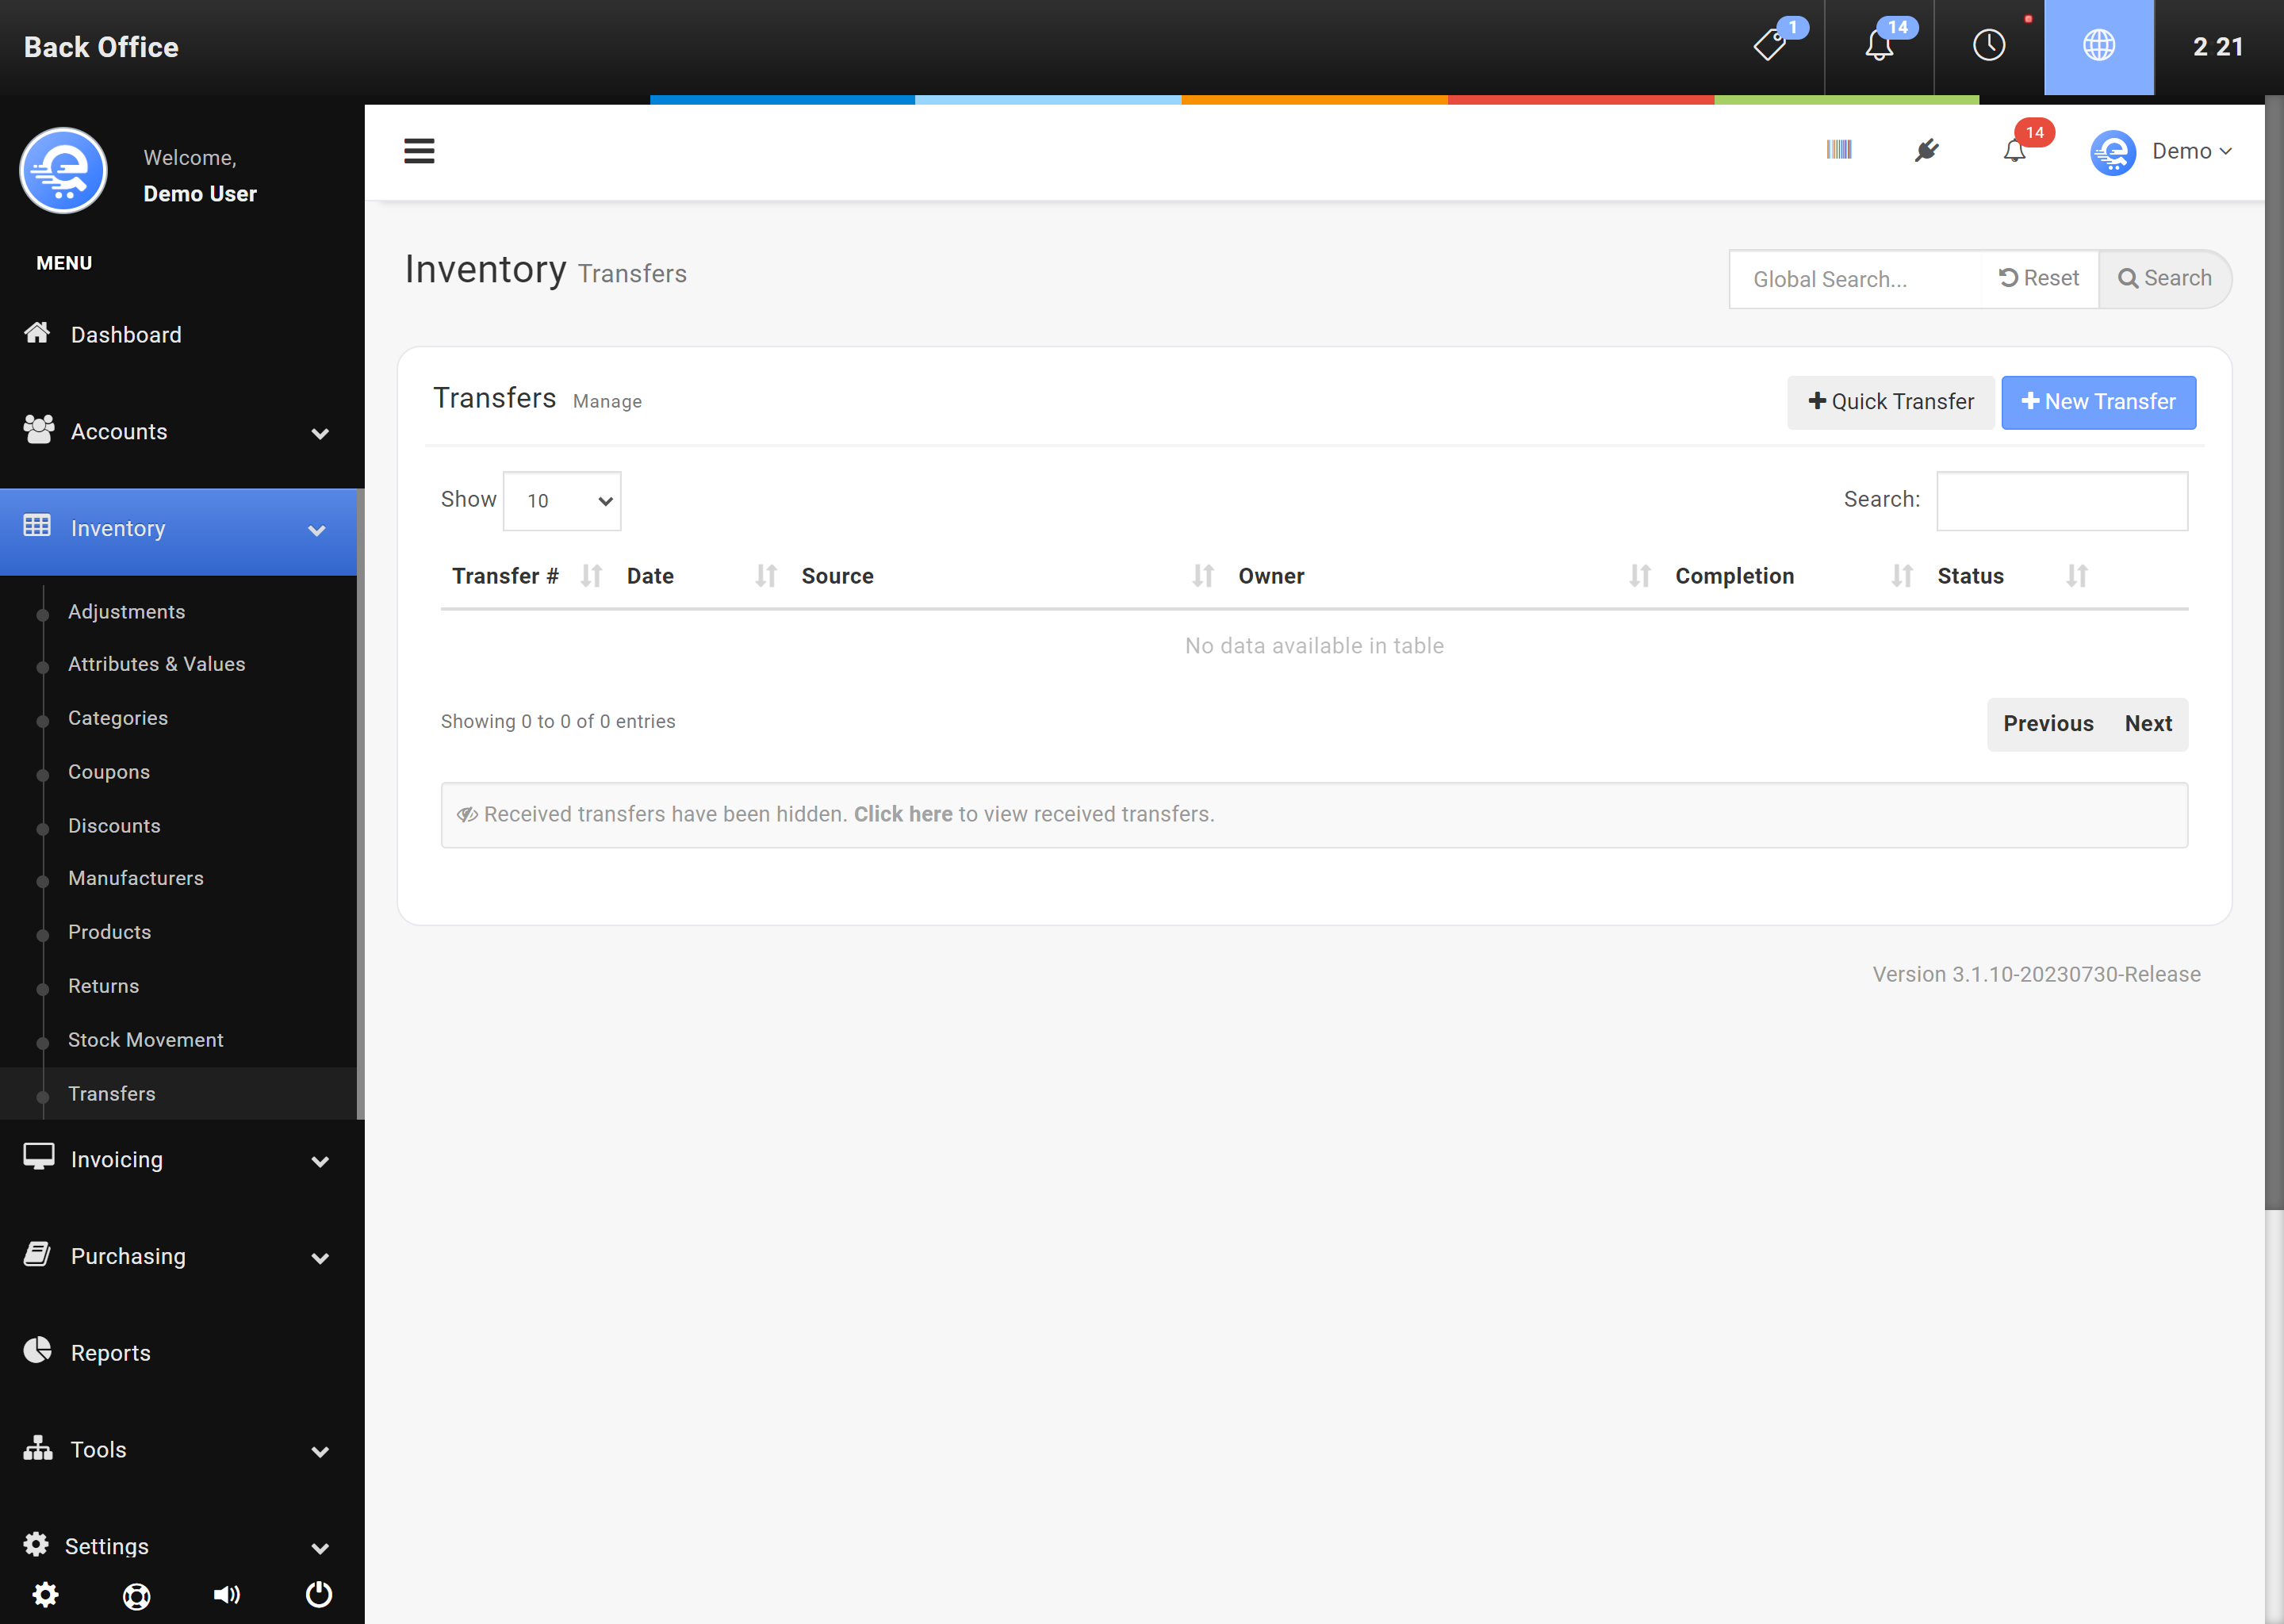
Figure A
Create Transfers in the Back Office area
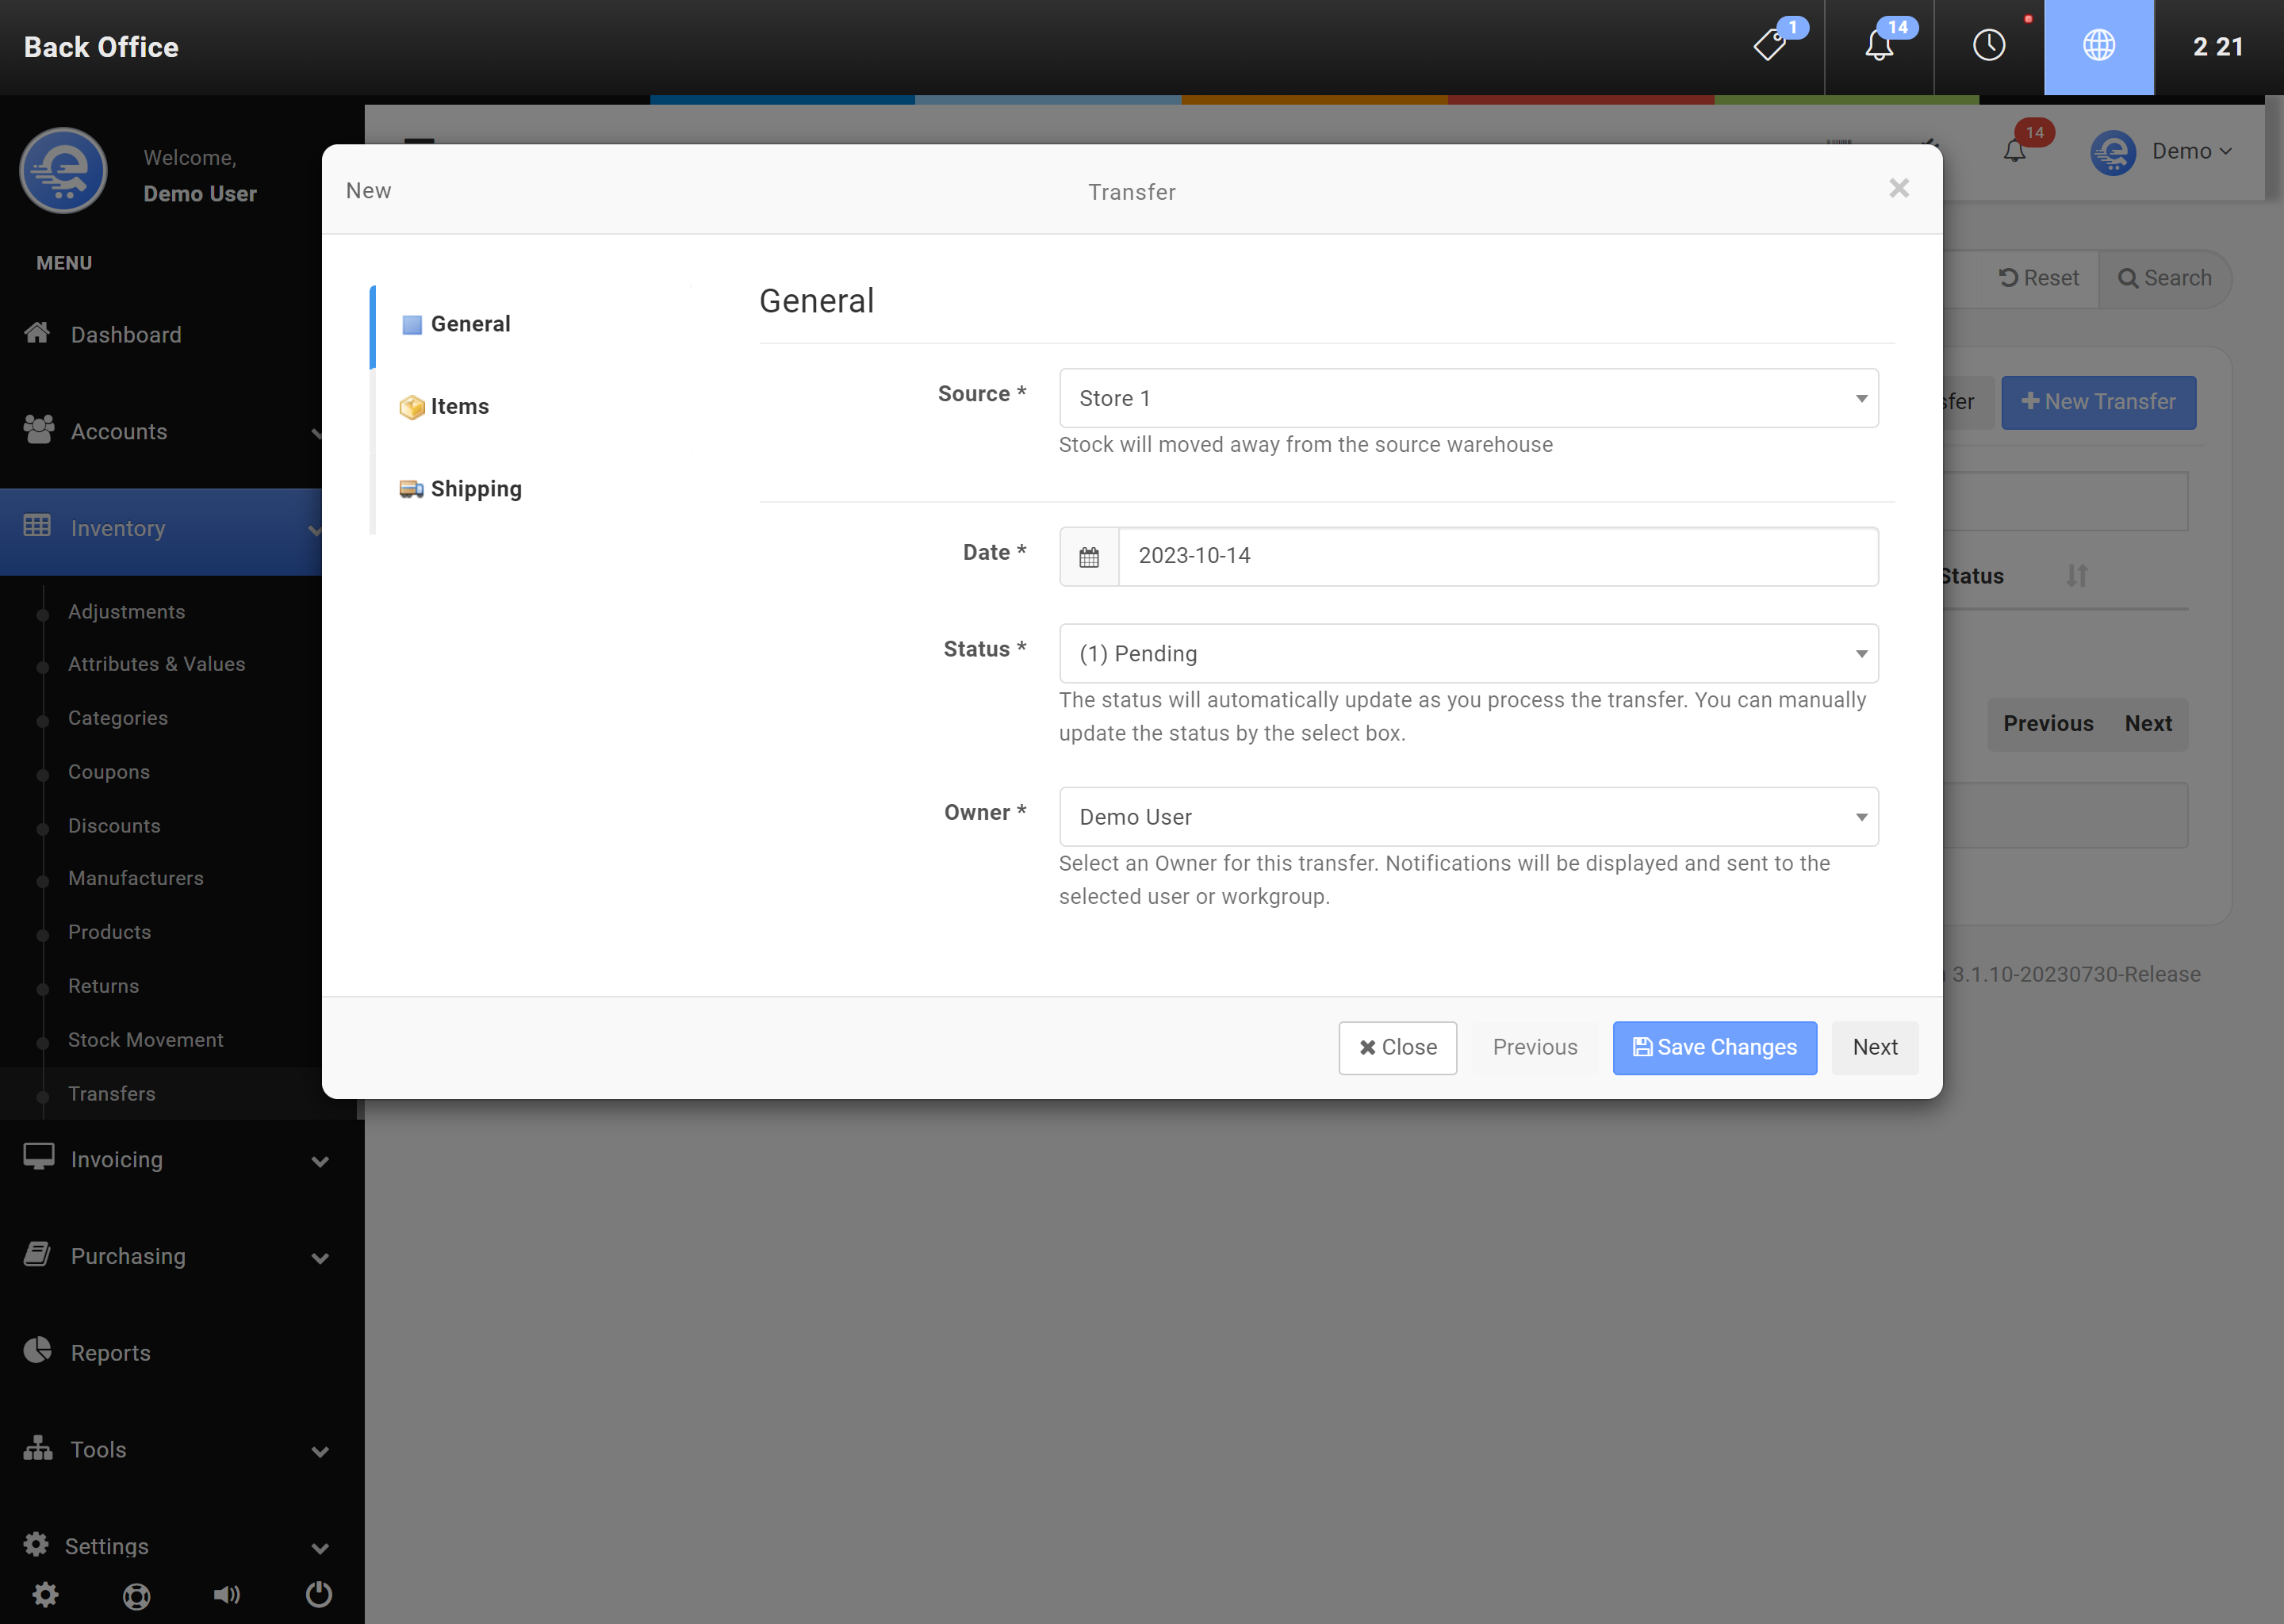
Figure B
Fill out the details of the Transfer and click Save Changes when complete.
Quick Transfers
Transfers can be done one at a time using the Quick Transfer tool.
- Navigate to the Back Office area
- On the left menu, click on "Inventory", then click on "Transfers" (see Figure C).
- Click on button labelled "Quick Transfer".
- Search for the product you want to transfer.
- Select the Source and the Destination and input desired Quantity you want to transfer.
- Click "Save Changes" (see Figure D) when complete.

Figure C
Access Quick Transfers in the Back Office area
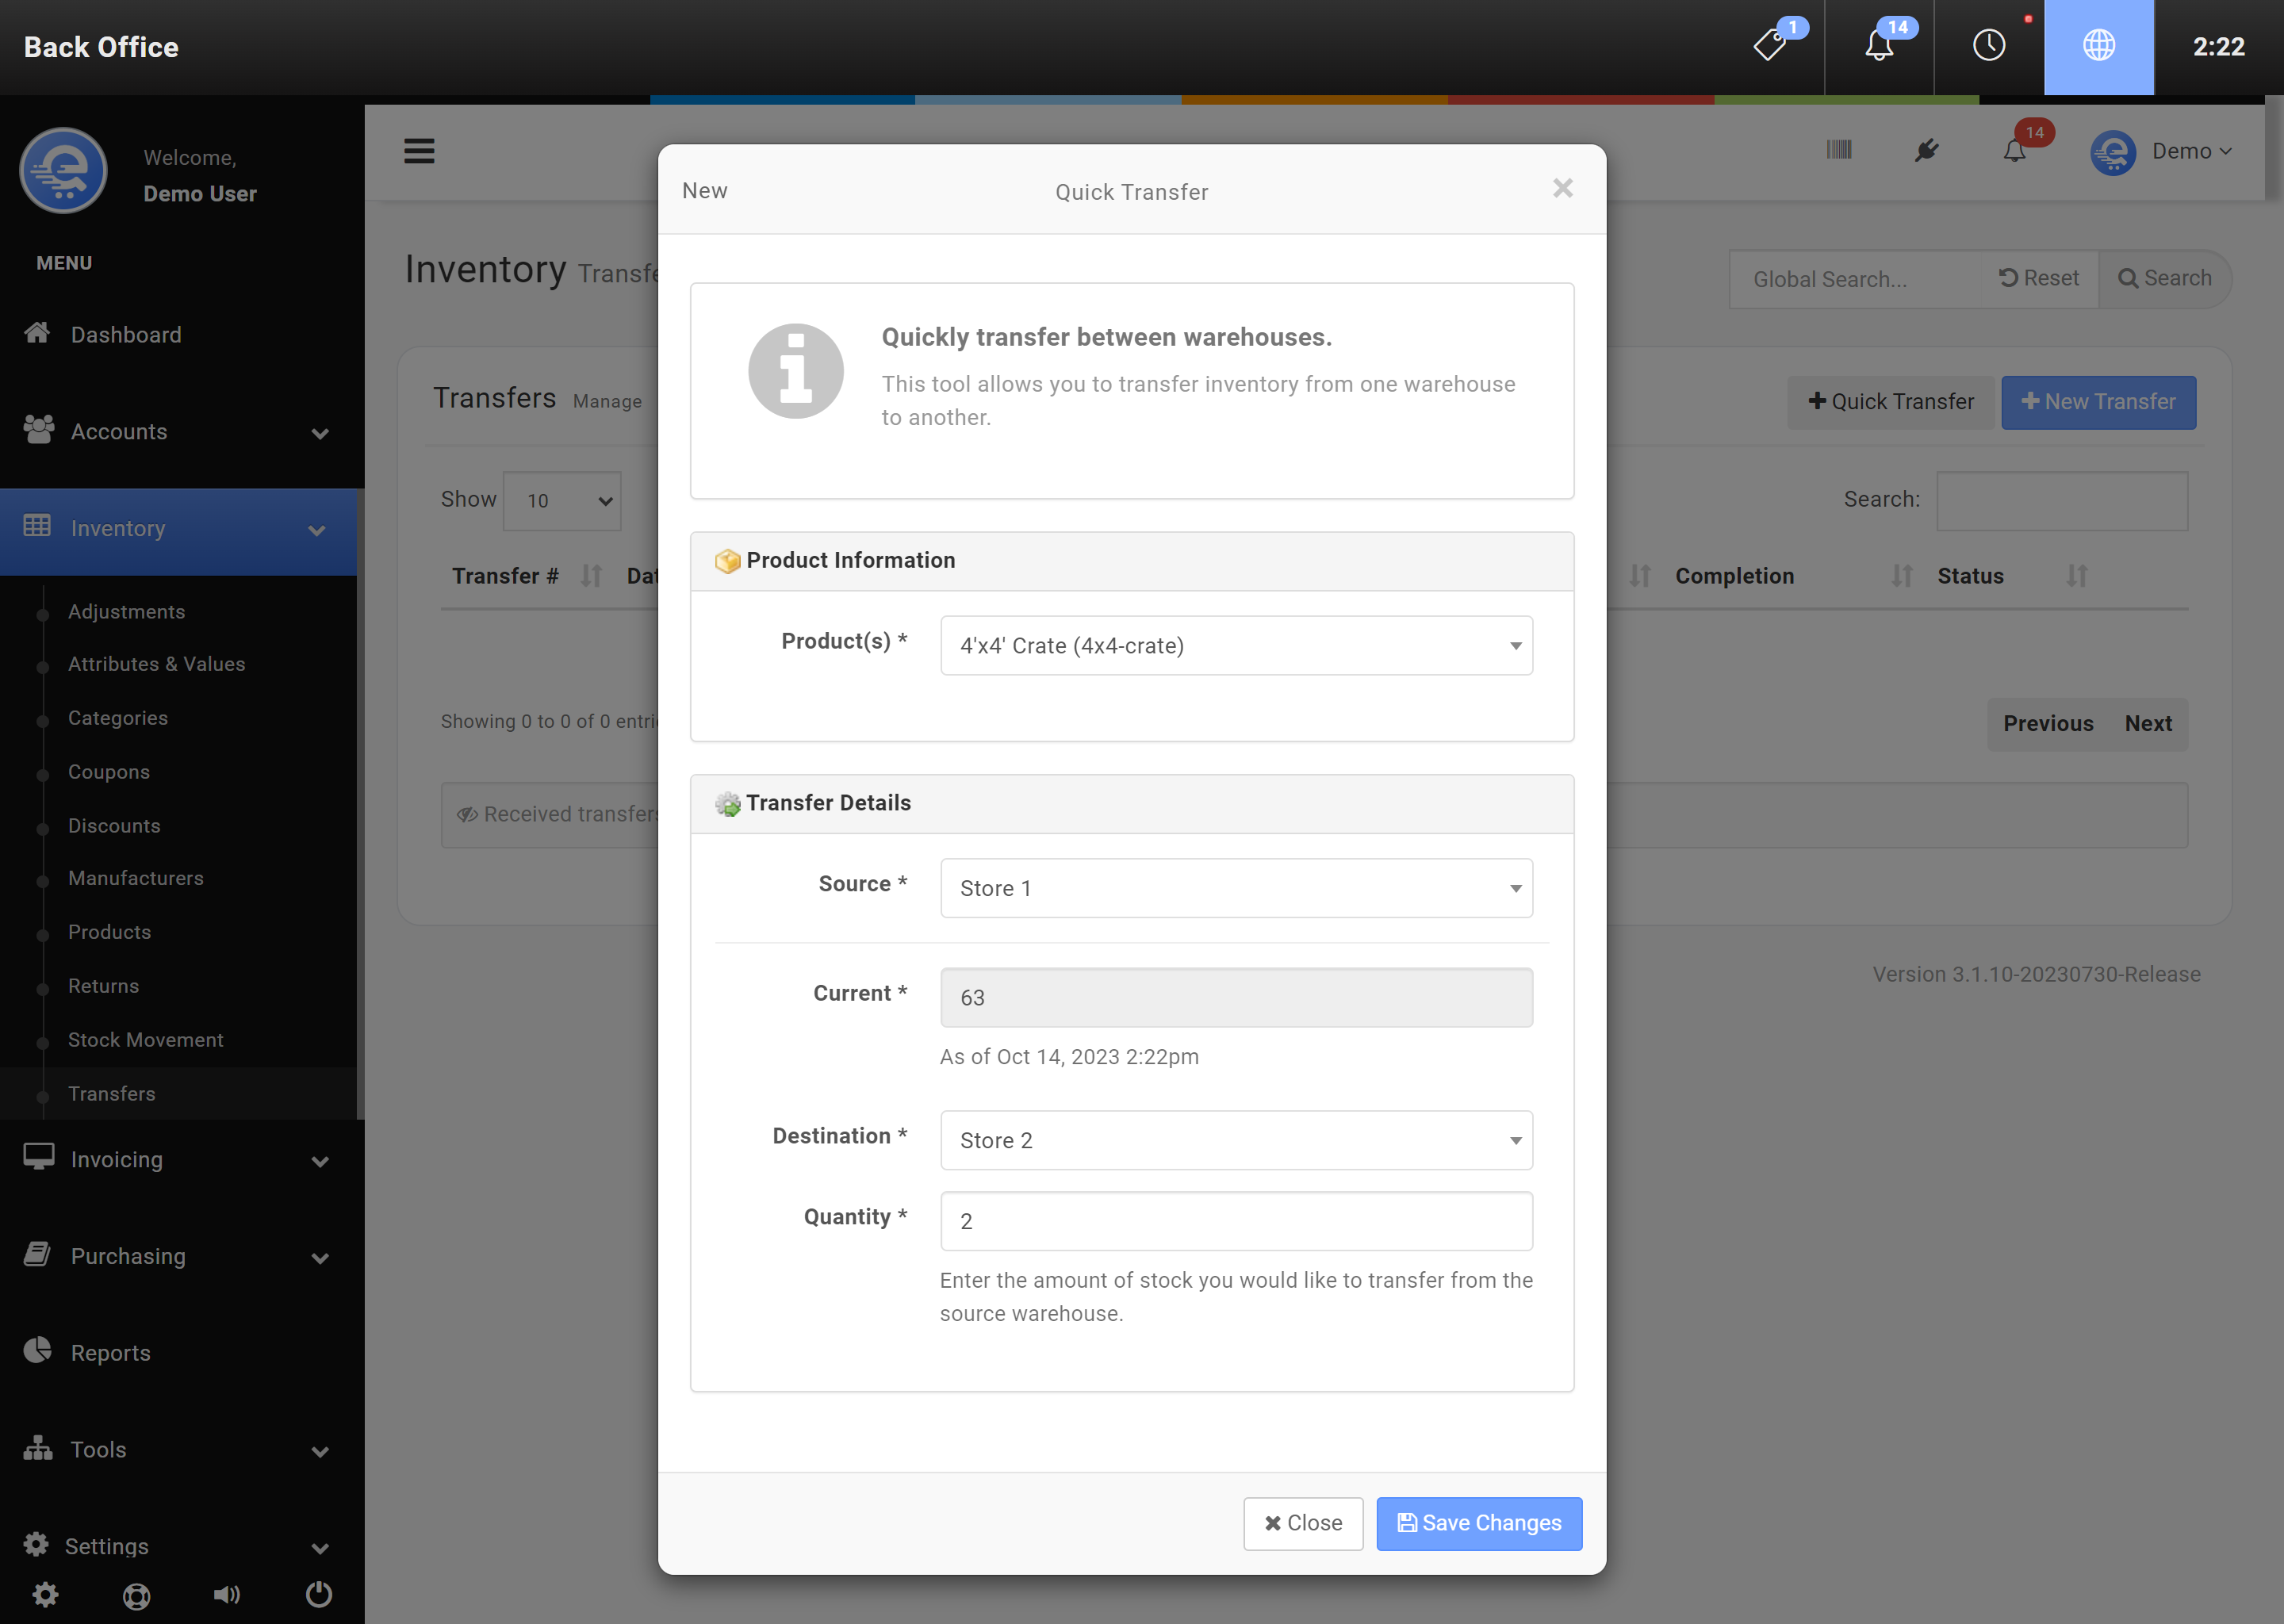
Figure D
Fill in the Transfer details and click Save Changes when complete.